


Artificial intelligence did not enter our lives rapidly through ChatGPT alone. Today, especially on social media, we see many images created with AI. Although "text to image" platforms offer different features, they all share the same basic function: turning the AI prompt you enter into an image.
In this article, I will review five of the most popular AI platforms available for free. I will compare their strengths and weaknesses and try to help businesses and individual users find the one that best suits their needs.
To compare the platforms, I will use the following prompt, which I created with the ChatGPT+ plugin. You can also browse hashtags on platforms such as Twitter and Instagram for sample prompts, or use ChatGPT to create your own prompt as I did.
An elegant, sophisticated advertisement campaign for a high-end perfume brand. The style should be luxurious and opulent, with a focus on the allure and mystique of the fragrances. The lighting should be soft and flattering, illuminating the beauty of the perfume bottles. The colors should be jewel-toned, complementing the luxury theme. Use a Nikon D850 DSLR with a 50mm lens for a detailed shot.
Adobe Firefly
When you open the Adobe Firefly website, you will be asked to create an account if you do not already have one. You can do this quickly through the create account section in the upper-right corner.
After you create an account, the homepage introduces the features available in Adobe Firefly now and those planned for the future. The features currently working are Text to Image, Generative Fill, Text Effects and Generative Recolor. If you are just getting started, you can also review sample prompts and results on the homepage or in the Adobe Firefly Discord channel.
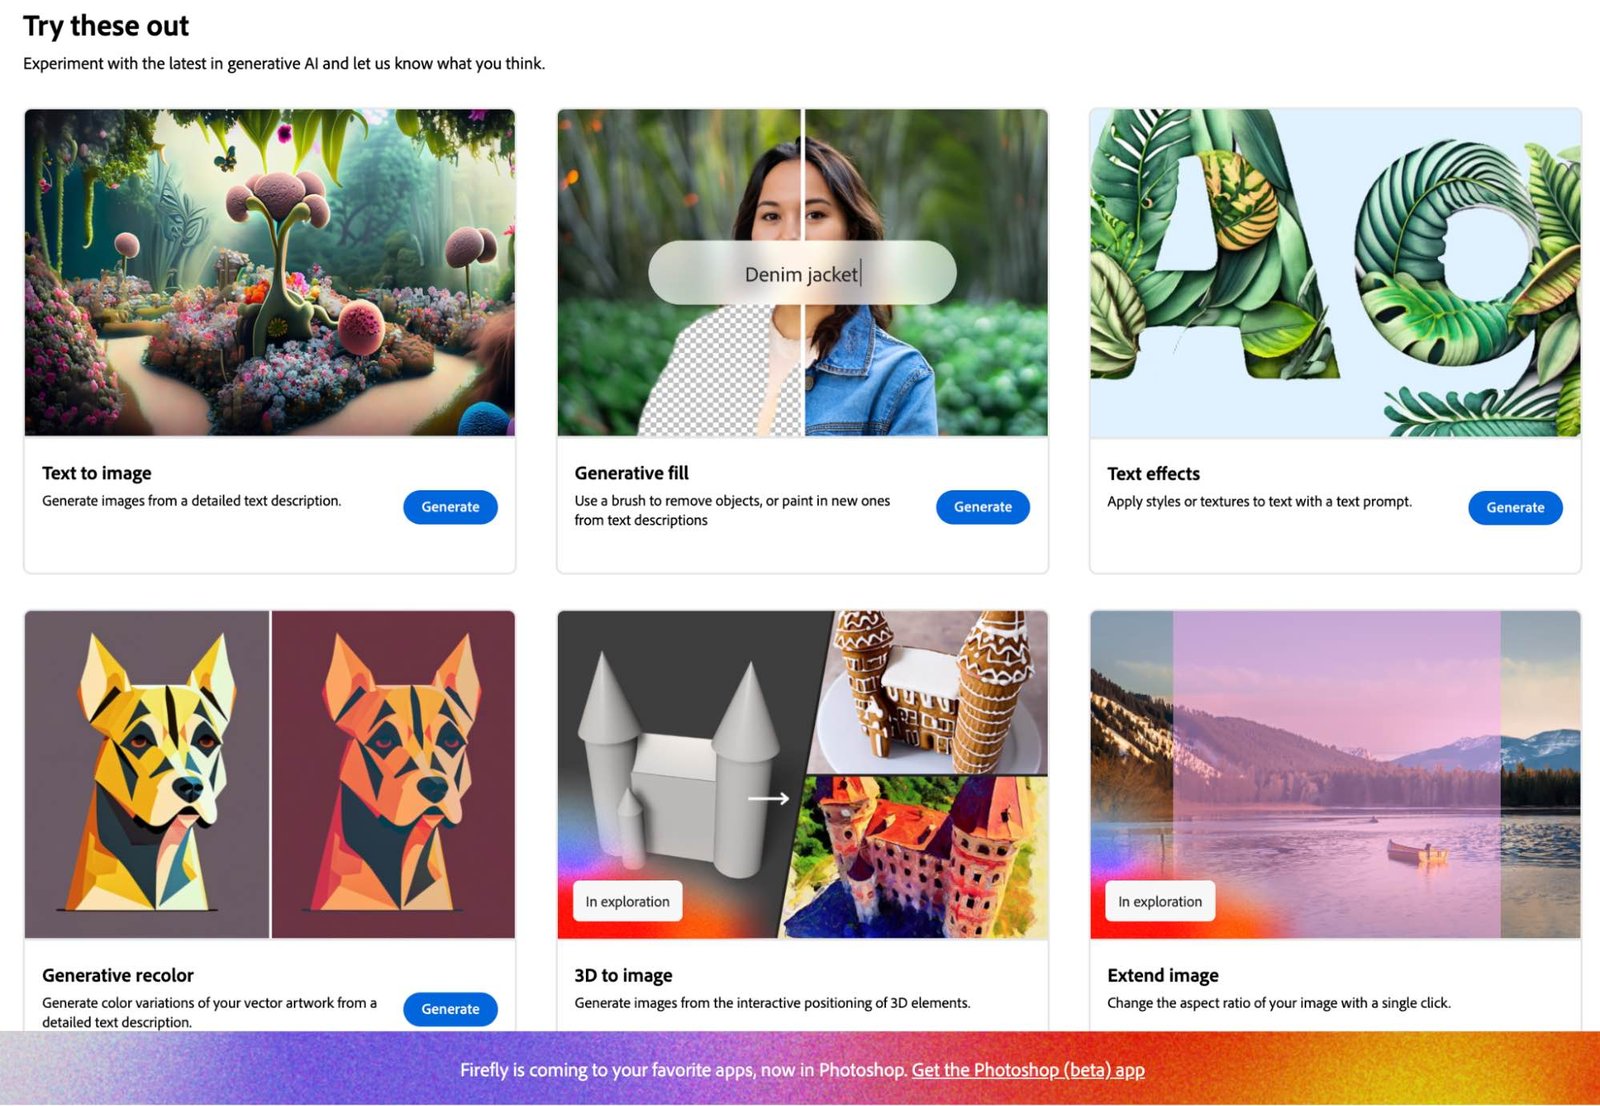
Let's briefly examine these features together.
Text to Image
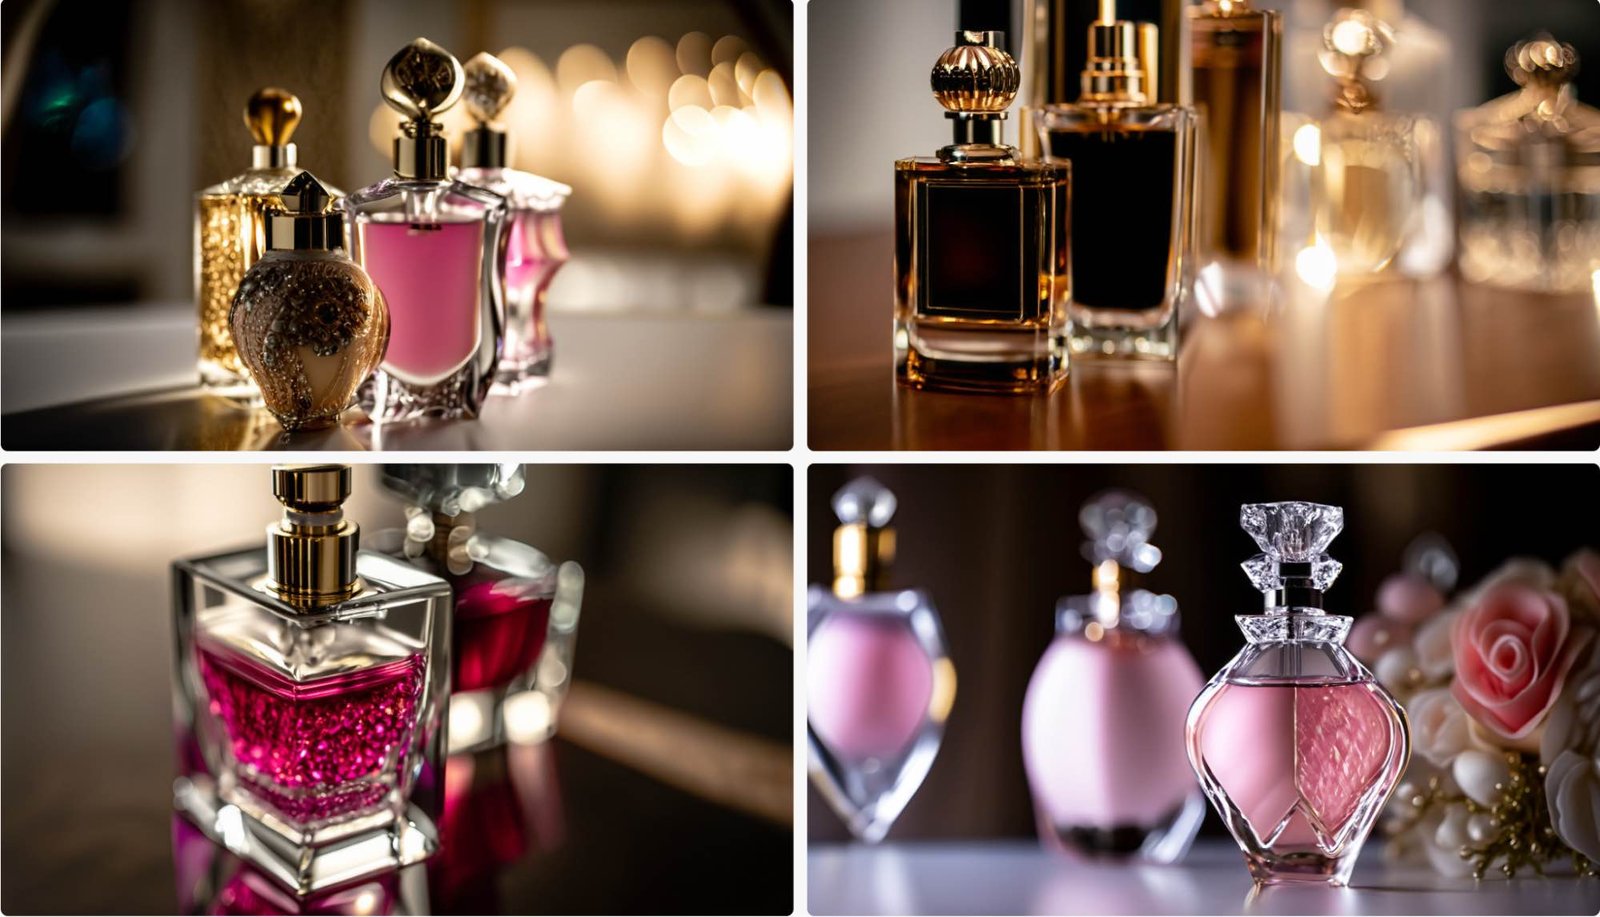
Text to Image turns detailed text descriptions into visual images. Adobe's conversion tool also offers several useful controls. Below, you can see the results from the sample prompt above.
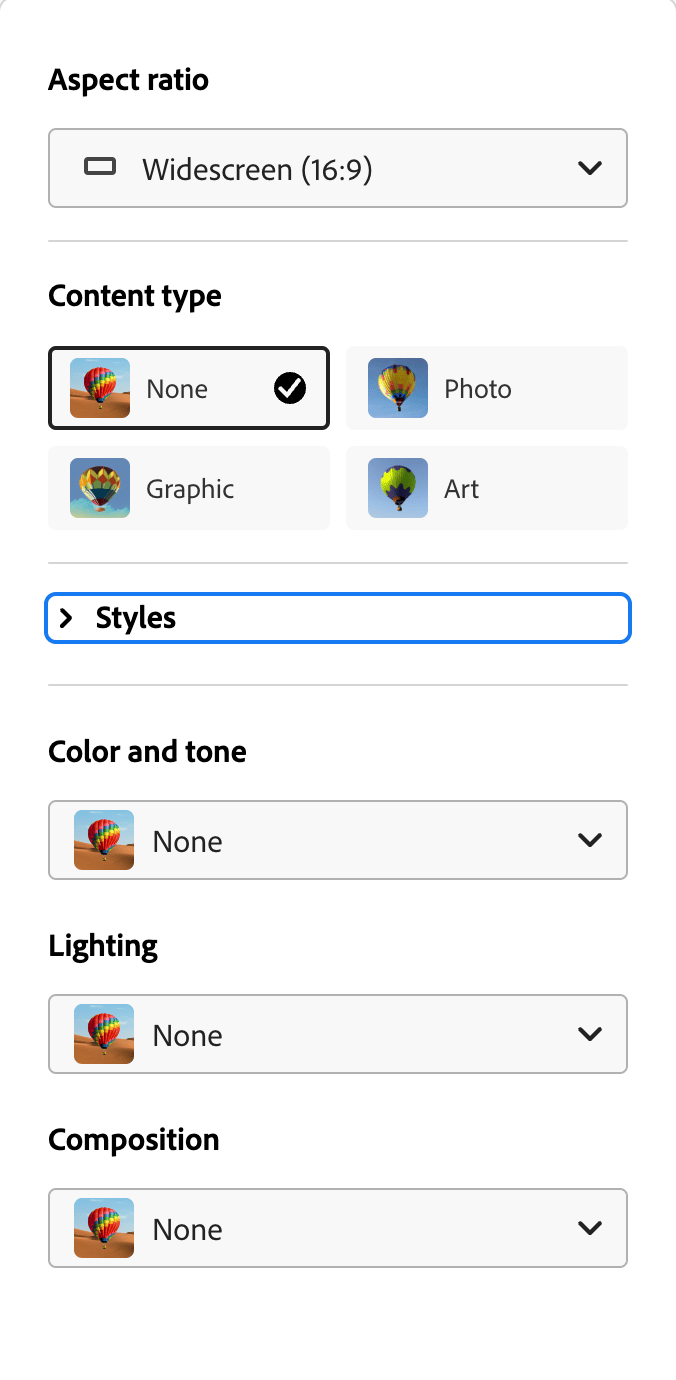
If you want to make changes to these results, you can modify the properties that Adobe offers you, such as size, content type, image style and coloring.
Also, if there is an image you like in the results, you can ask it to create 3 more similar images by saying "show similar".
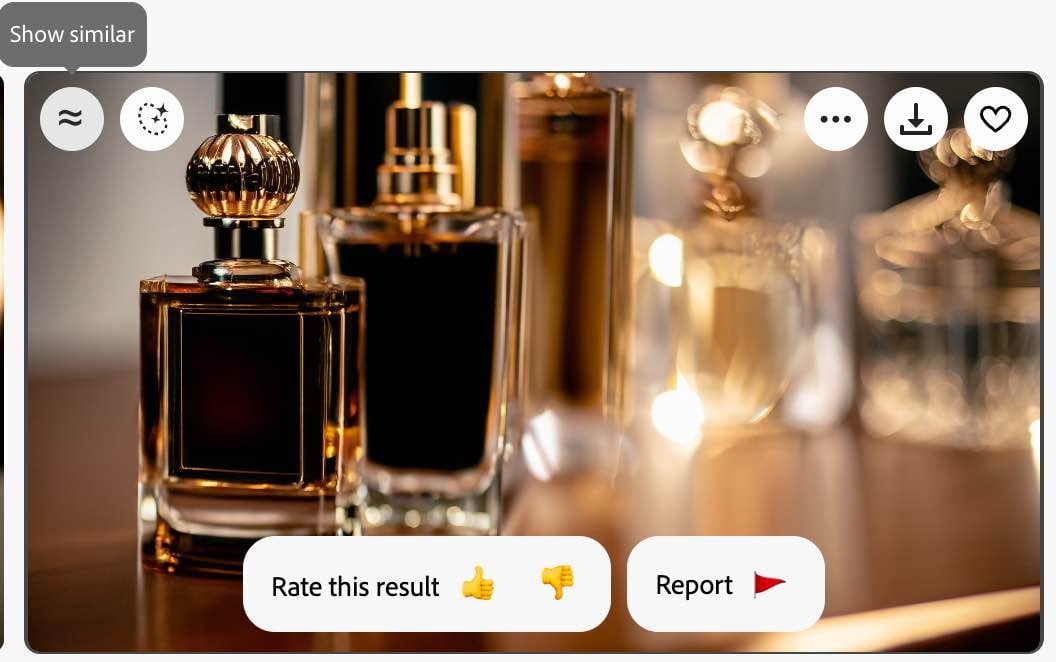
Generative Fill
We like the image we created, but if you want to make small changes to the image, you can use the "Generative Fill" feature.
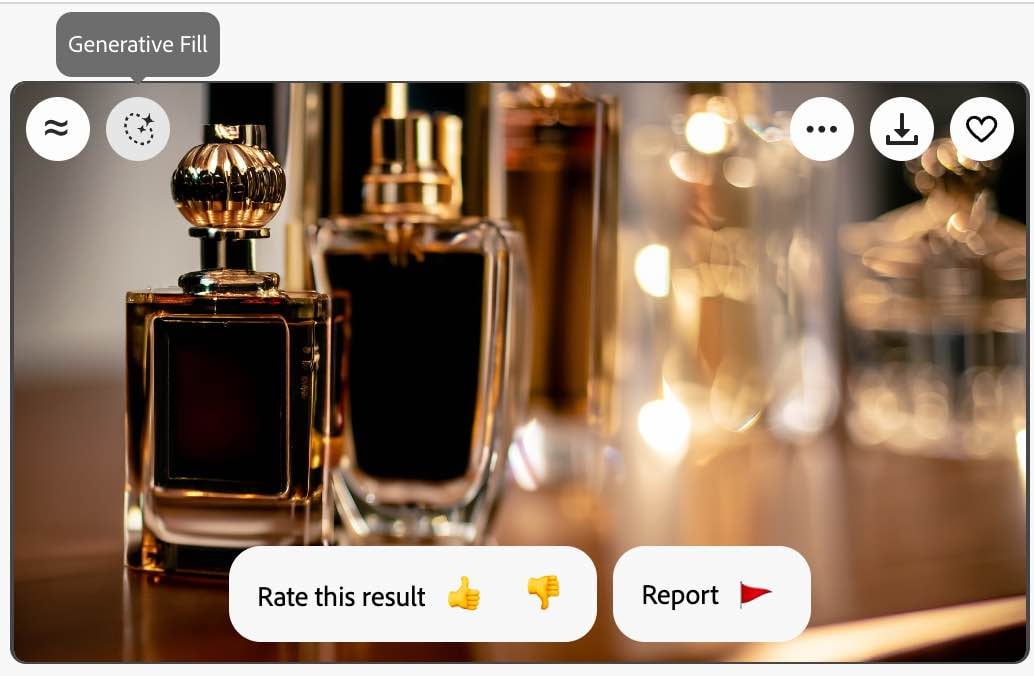
Using the Generative Fill feature, you can change the background of the image or make changes to the selected area. Again, you can make these changes by entering a prompt. For example, you don't like the black color of the perfume bottle in the foreground and want to change it to dark brown.
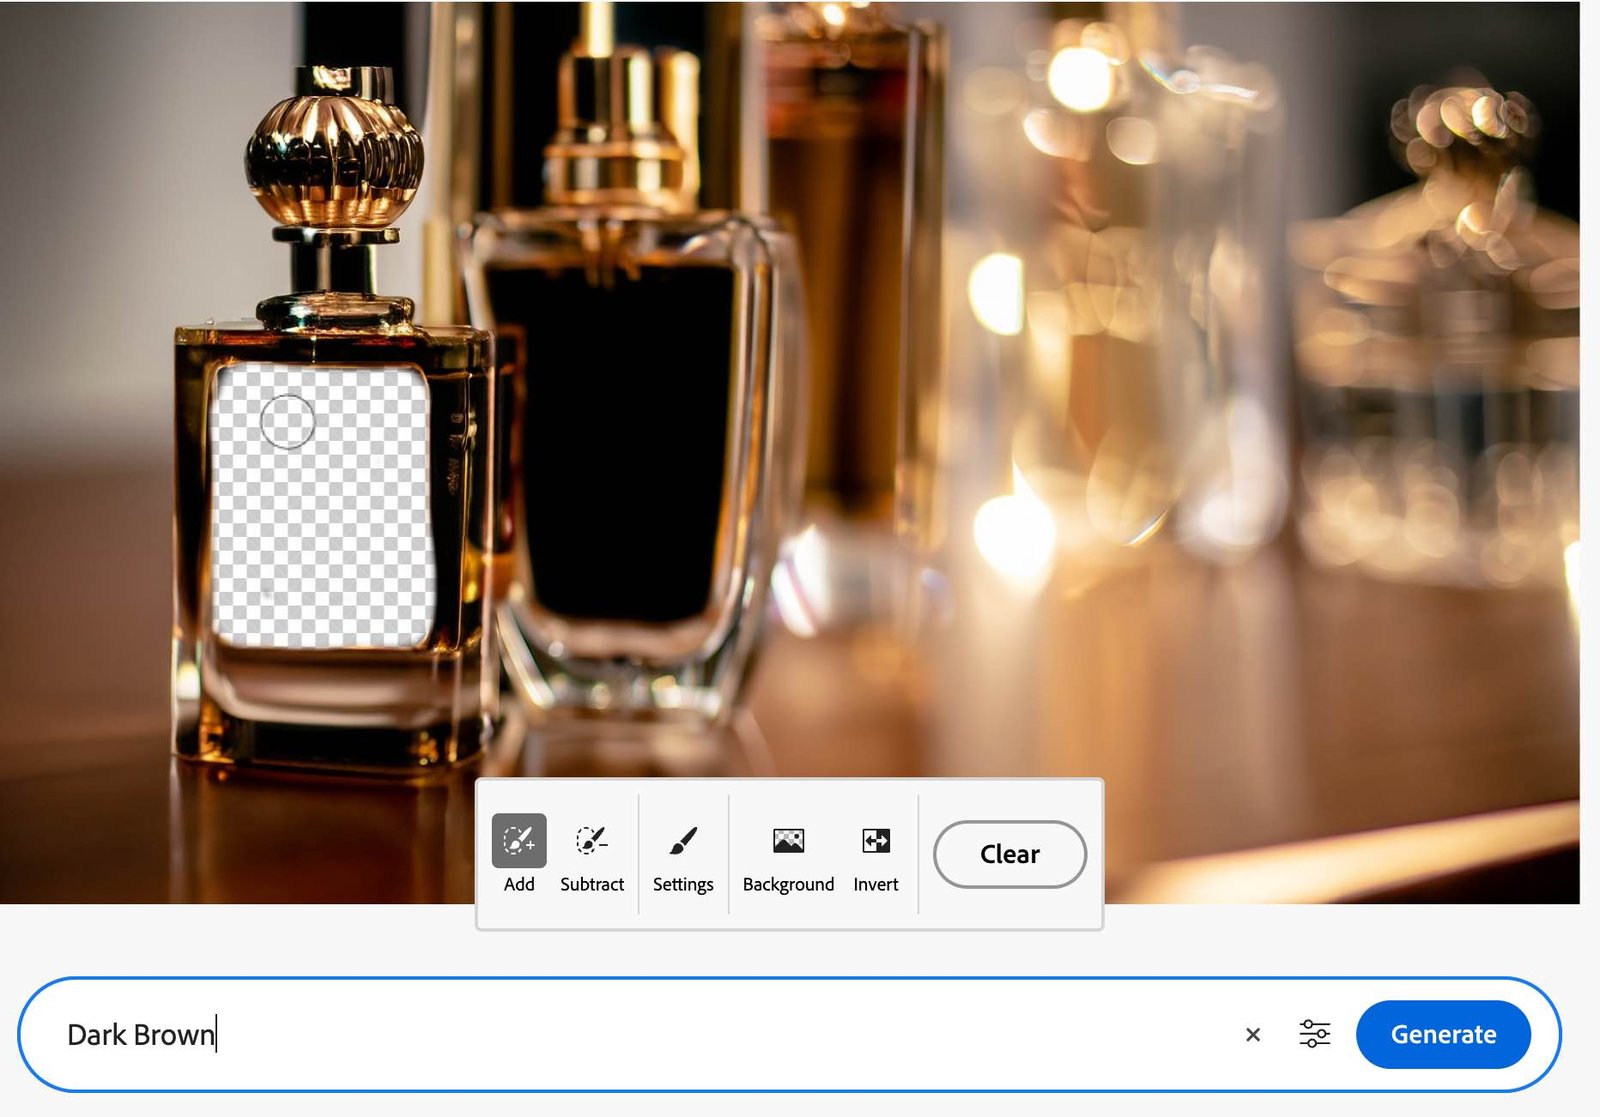
When I select the black area with a brush and type dark brown in the text, the result is as follows.

So you don't like the background and want to change it. You don't need the help of a brush for this. Click on "Background" and the artificial intelligence chooses the background for you. And all you have to do is write the background you imagine.
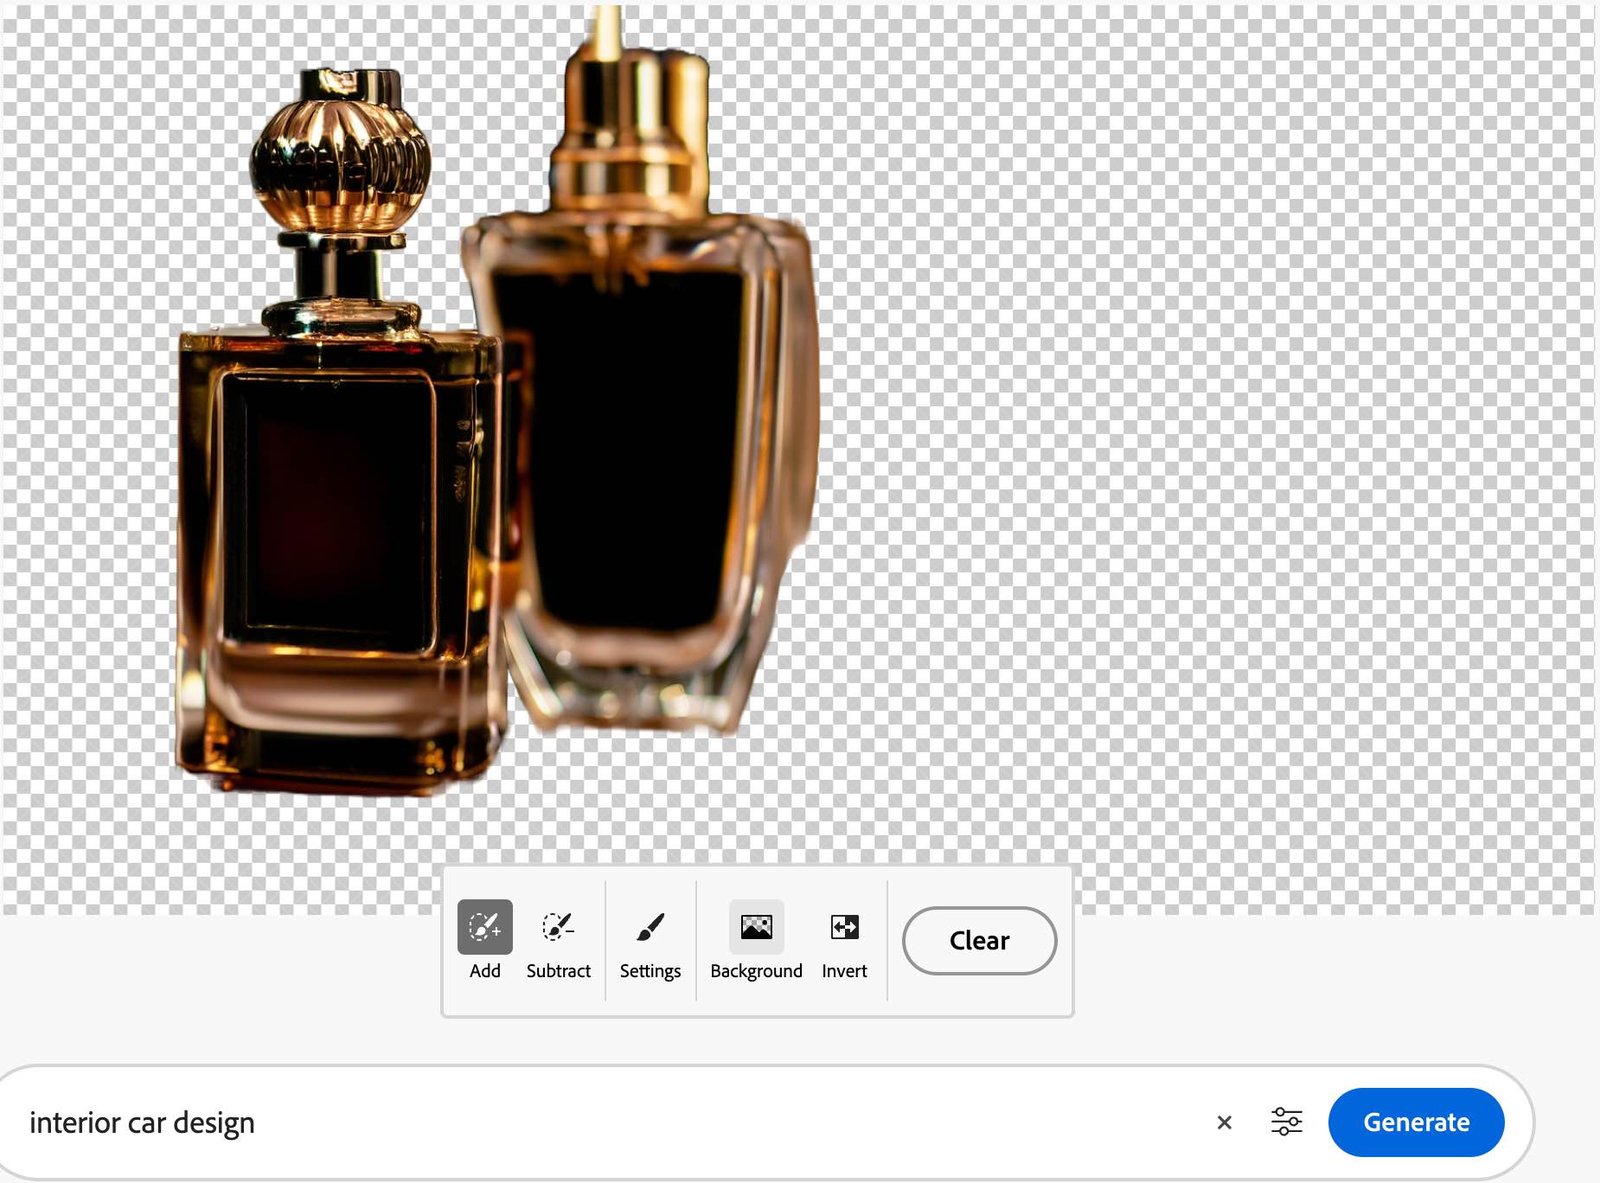
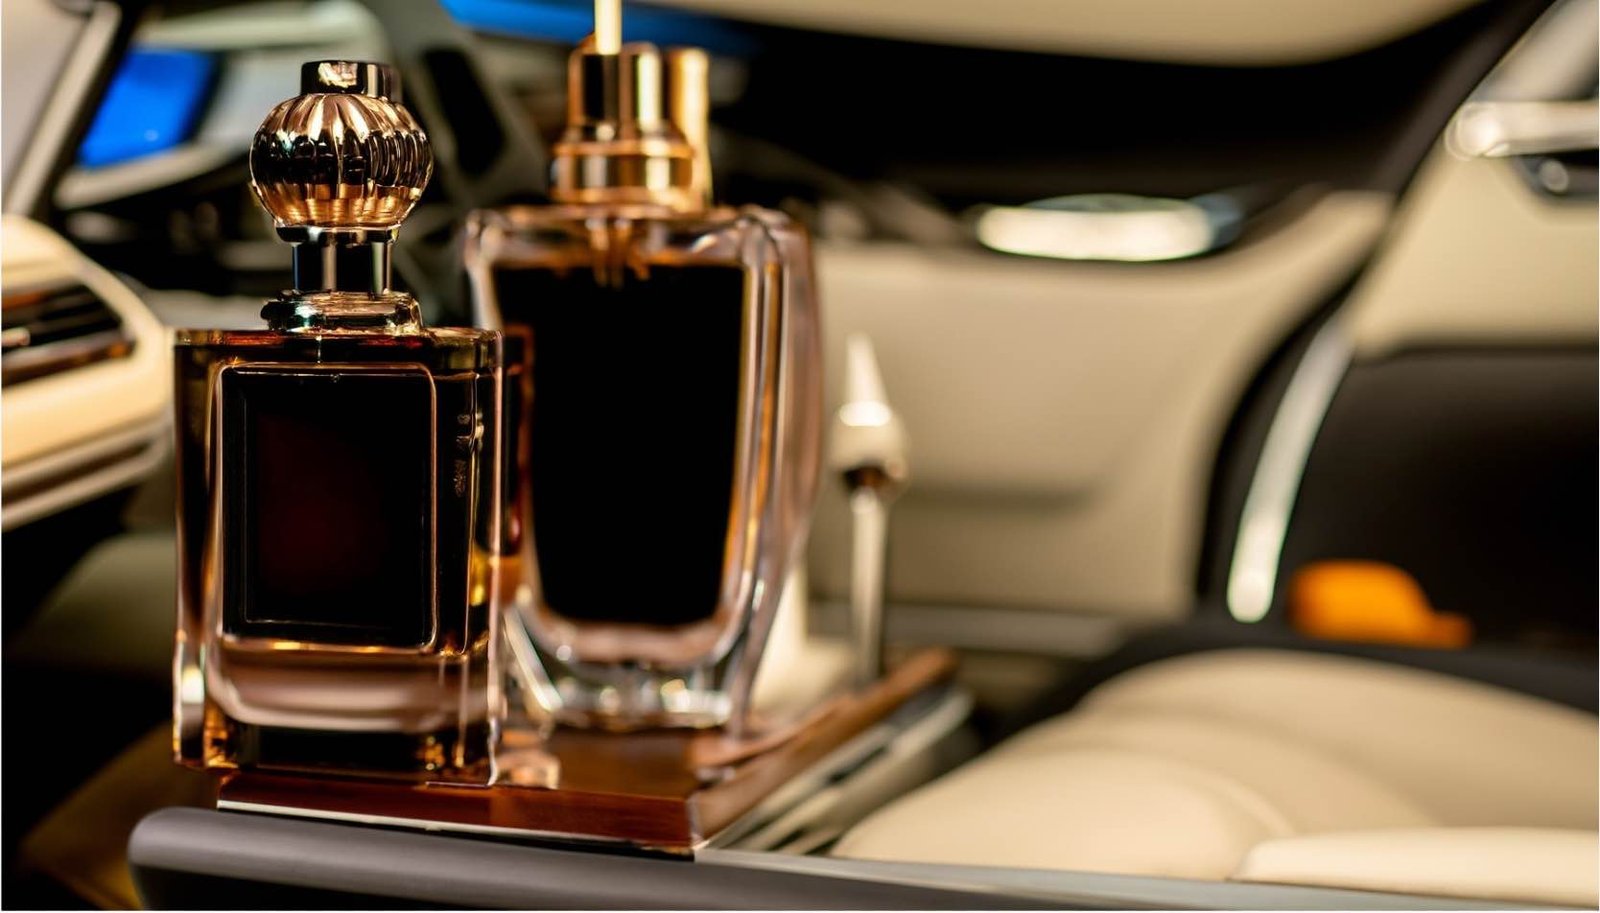
In our example, we told it to replace the background with the interior design of a luxury car. You can see how the resulting car design matches the perfume colors below.
Generative recolor
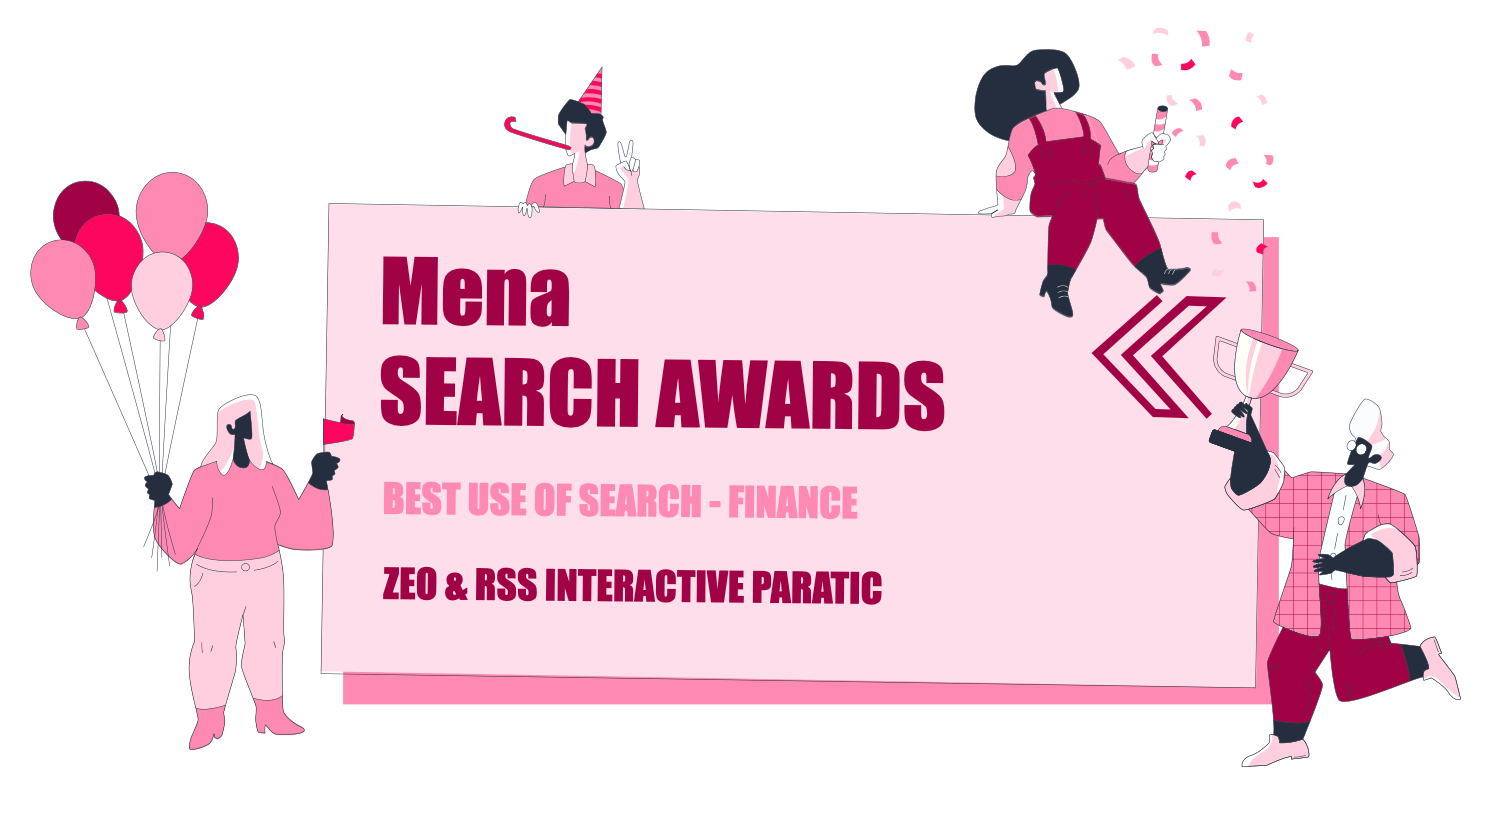
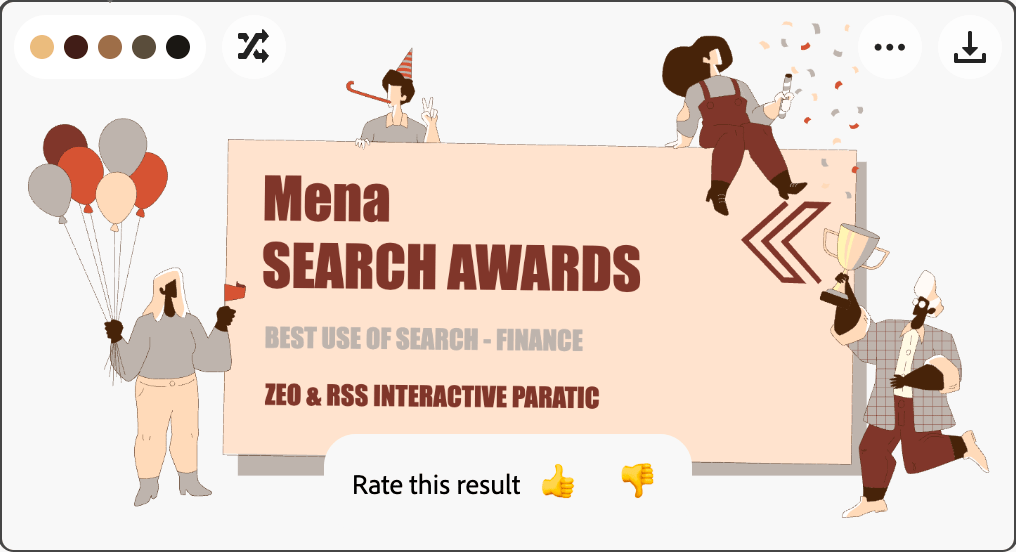
In this feature, we can change the colors of the ".svg" format file as we wish.
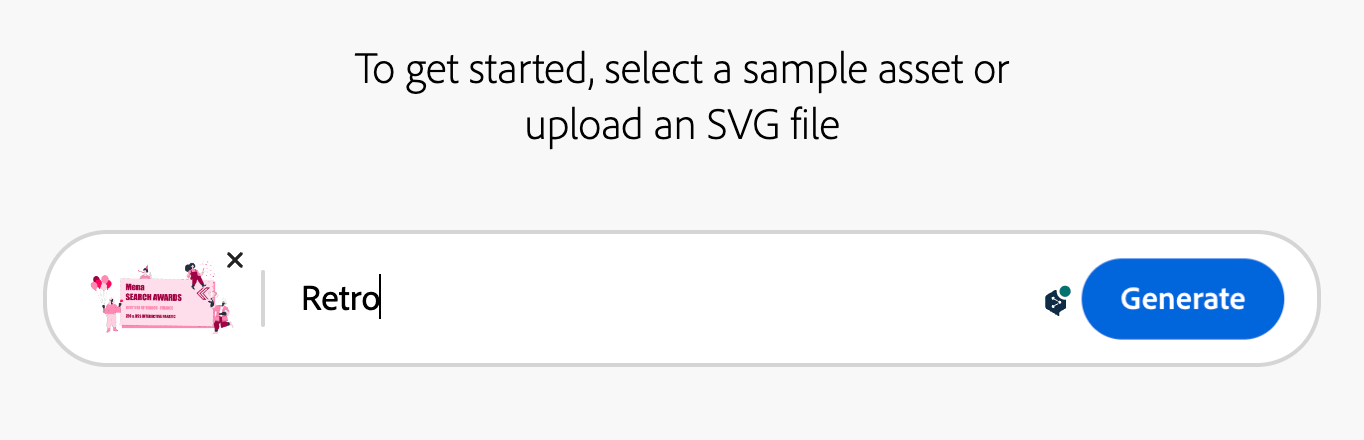
After uploading our file to the platform, after typing the style or colors we want, it gives us 4 different results. In our example, I wanted Zeo to change the design of the awards with the "Retro" style. You can see the first and the final version below. If you like the colors but want to change their places, you can do it from the color palette.
Text Effects
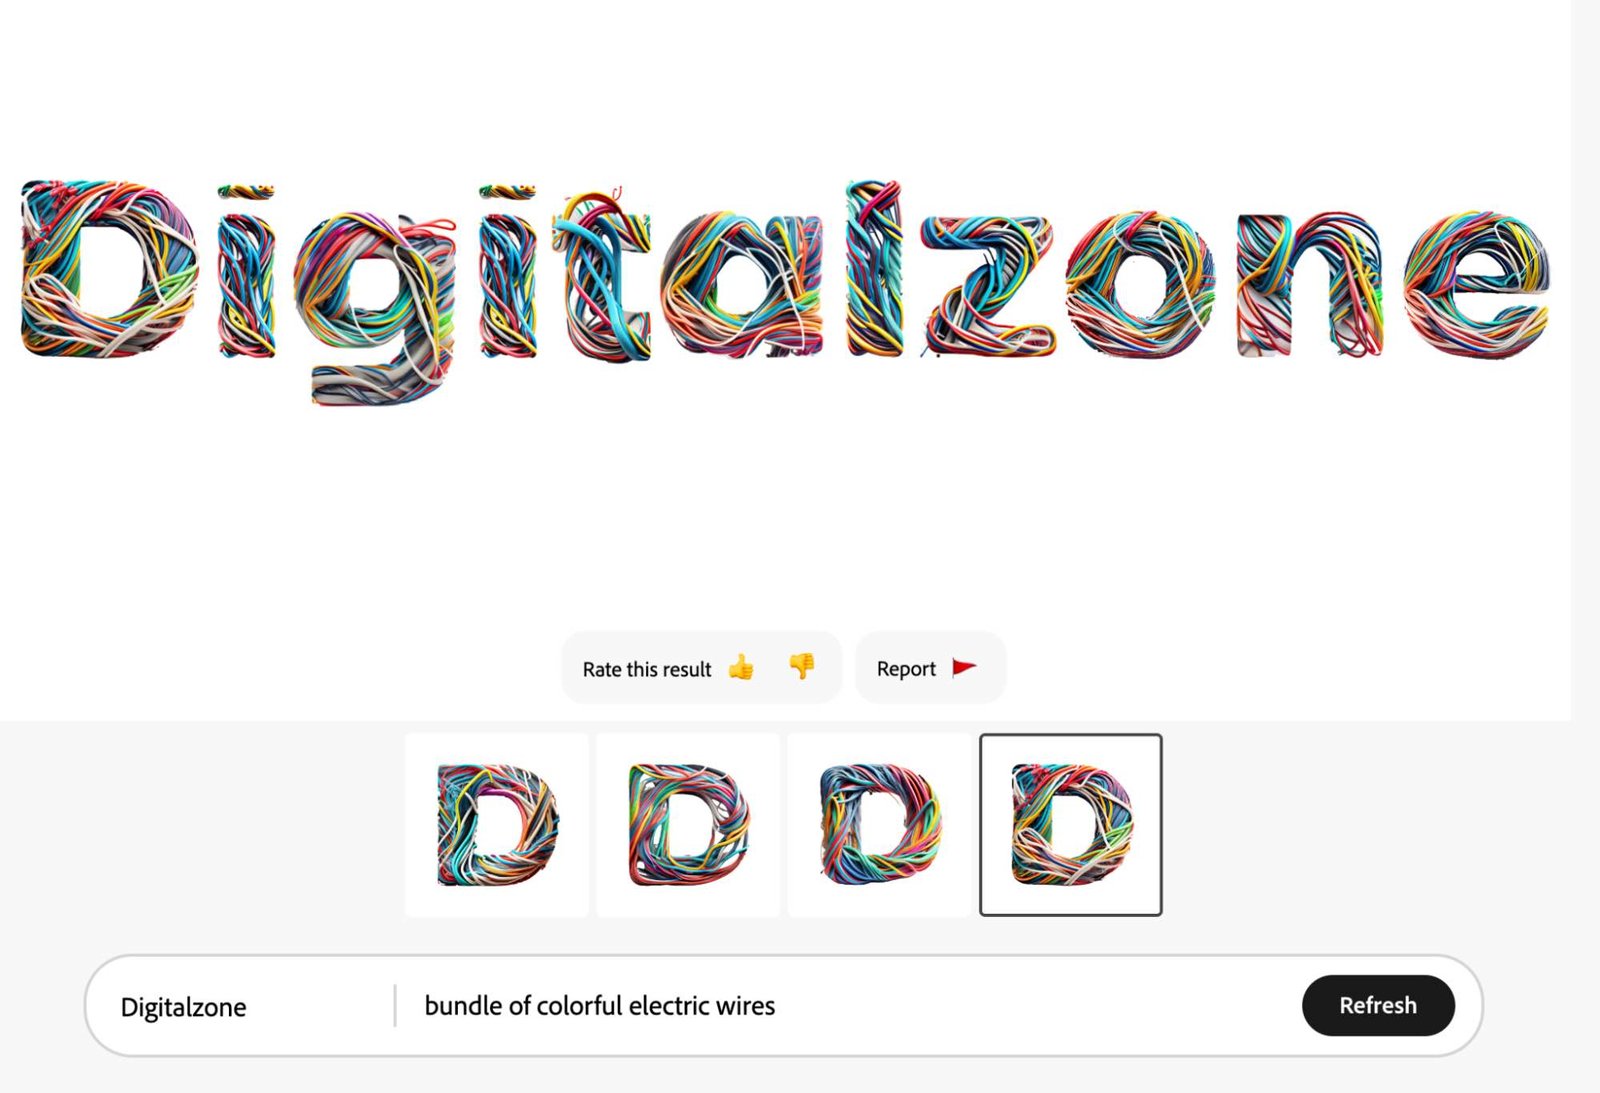
In this feature, you can create the style and colors of the text you want to write with the prompt you enter into the AI. In our example, I entered a prompt from Adobe's ready-made samples and printed "Digitalzone". You can see the result below. After printing the text, you can also change the background color and fonts.
Bing Image Creator(DALL-E 3)
After logging in to Bing Image Creator, you need to sign in to use the platform. You can quickly create your membership using your Microsoft account. You can also download the Bing mobile application to your phone and use it for free.
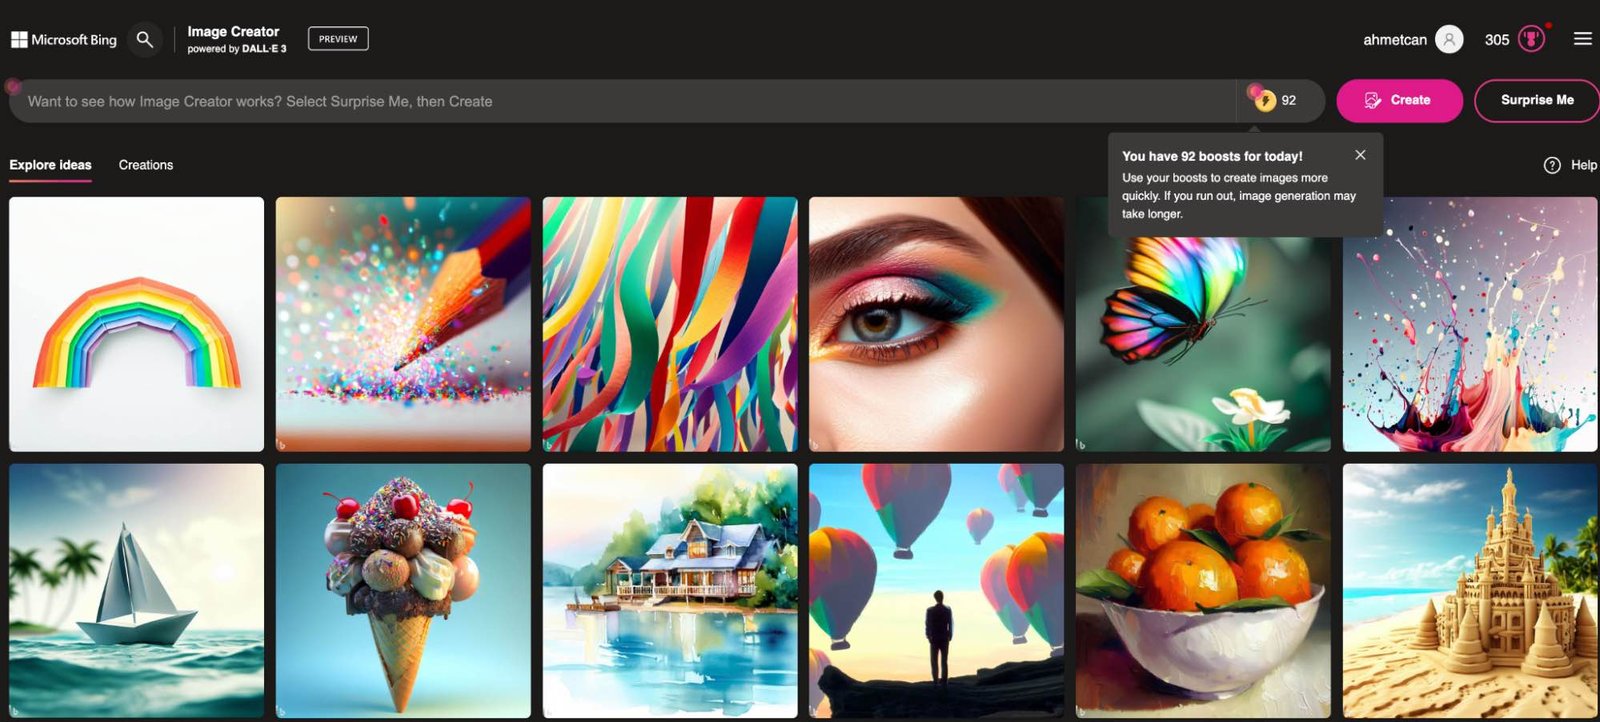
After logging in, you can see the prompts and outputs that can inspire you in the "Explore Ideas" section. In the "Creations" section, you can see the pictures you have previously produced.
Microsoft Bing is completely free, runs on the DALL-E 3 infrastructure and gives you 100 fast tokens. These tokens allow your prompts to be generated quickly. Once they run out, however, production slows considerably. Microsoft then notifies you by e-mail when your picture is ready. Each prompt uses 1 token.
Now let's look at the results of our prompt, which we have already tried, in Bing, DALL-E 3.
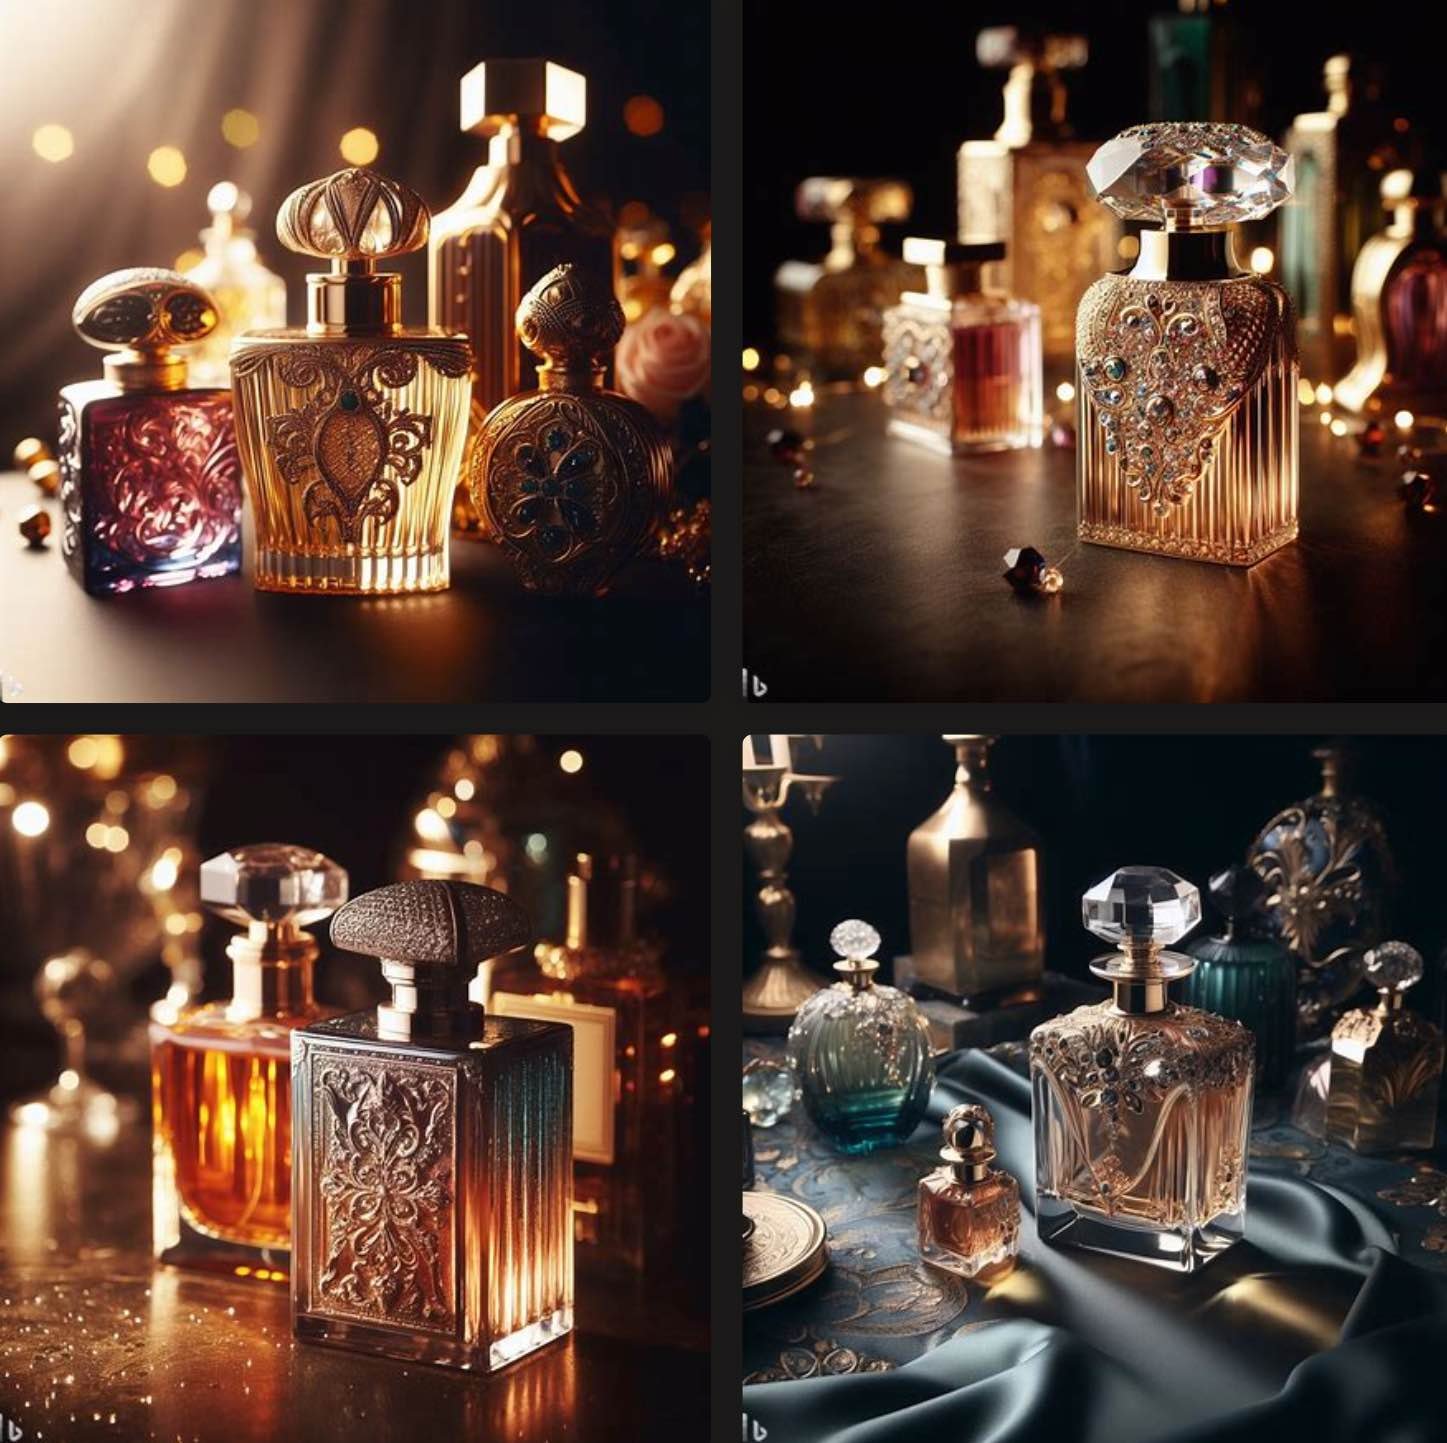
When we compare it with Adobe, we can say that the results were different. From 4 different alternatives, you can click on the image you like and share, download and save it.
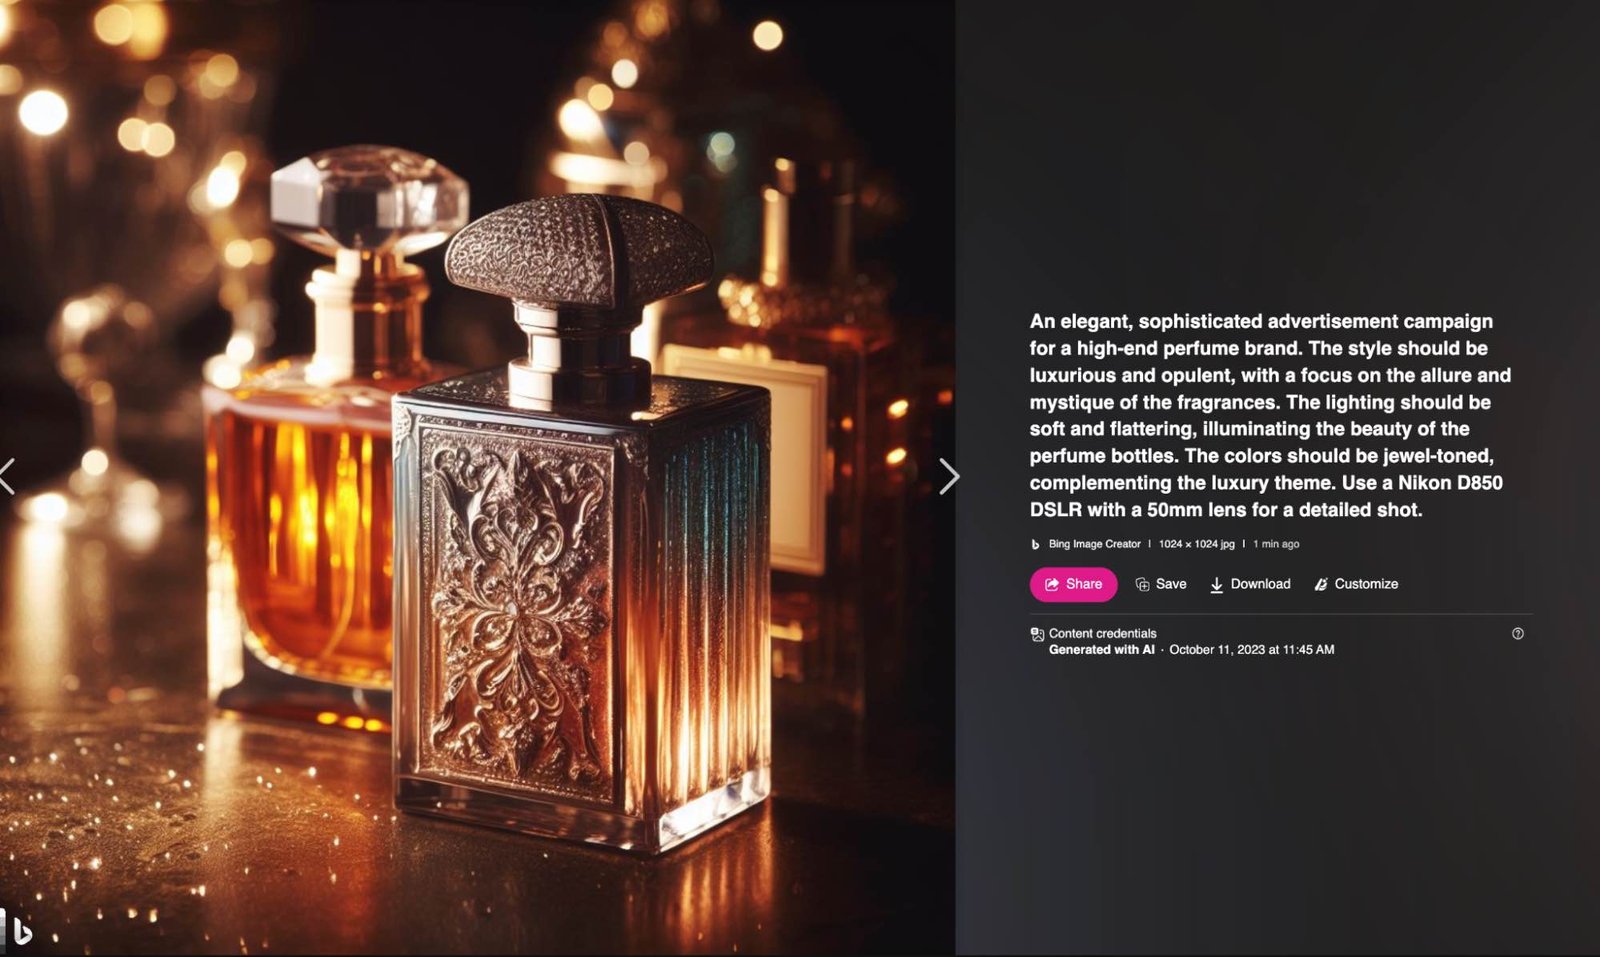
We can also play on the images we have created by clicking customise and at the same time we can use the images we have created in different designs.
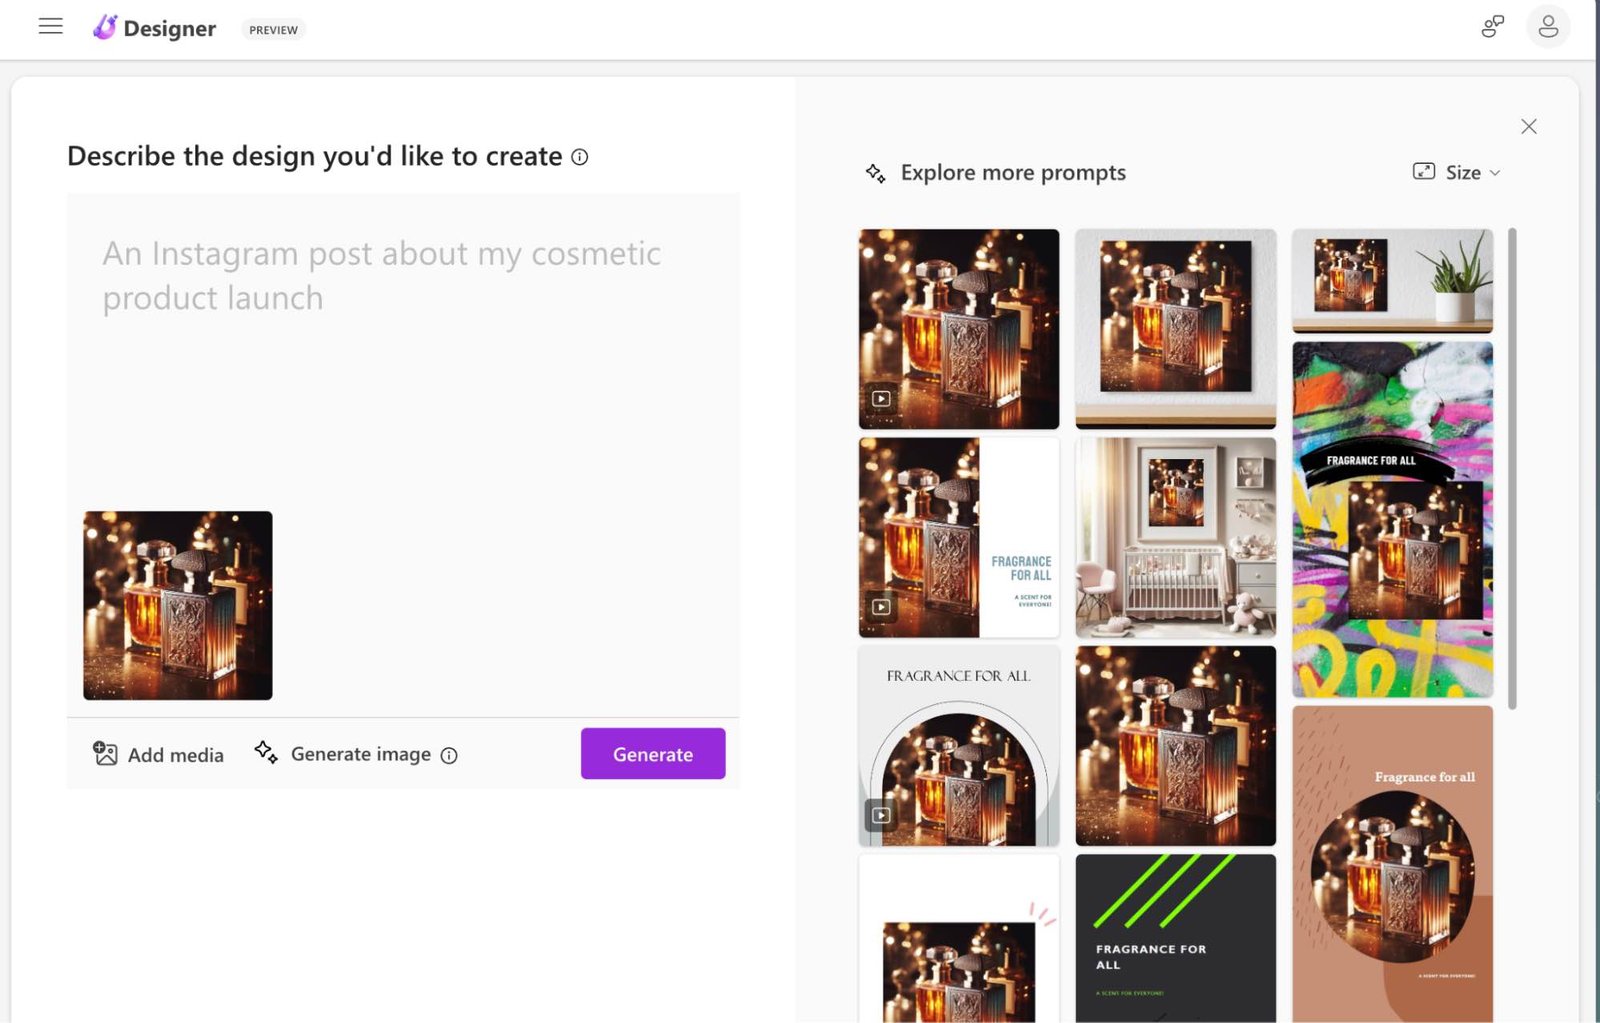
DaLL-E
In order to log in to DaLL-E, we first need to create an OpenAI account. After logging in to our OpenAI account, we can access DaLL-E. We have 15 credits per month. After these credits run out, it tells you when you will receive credits again.
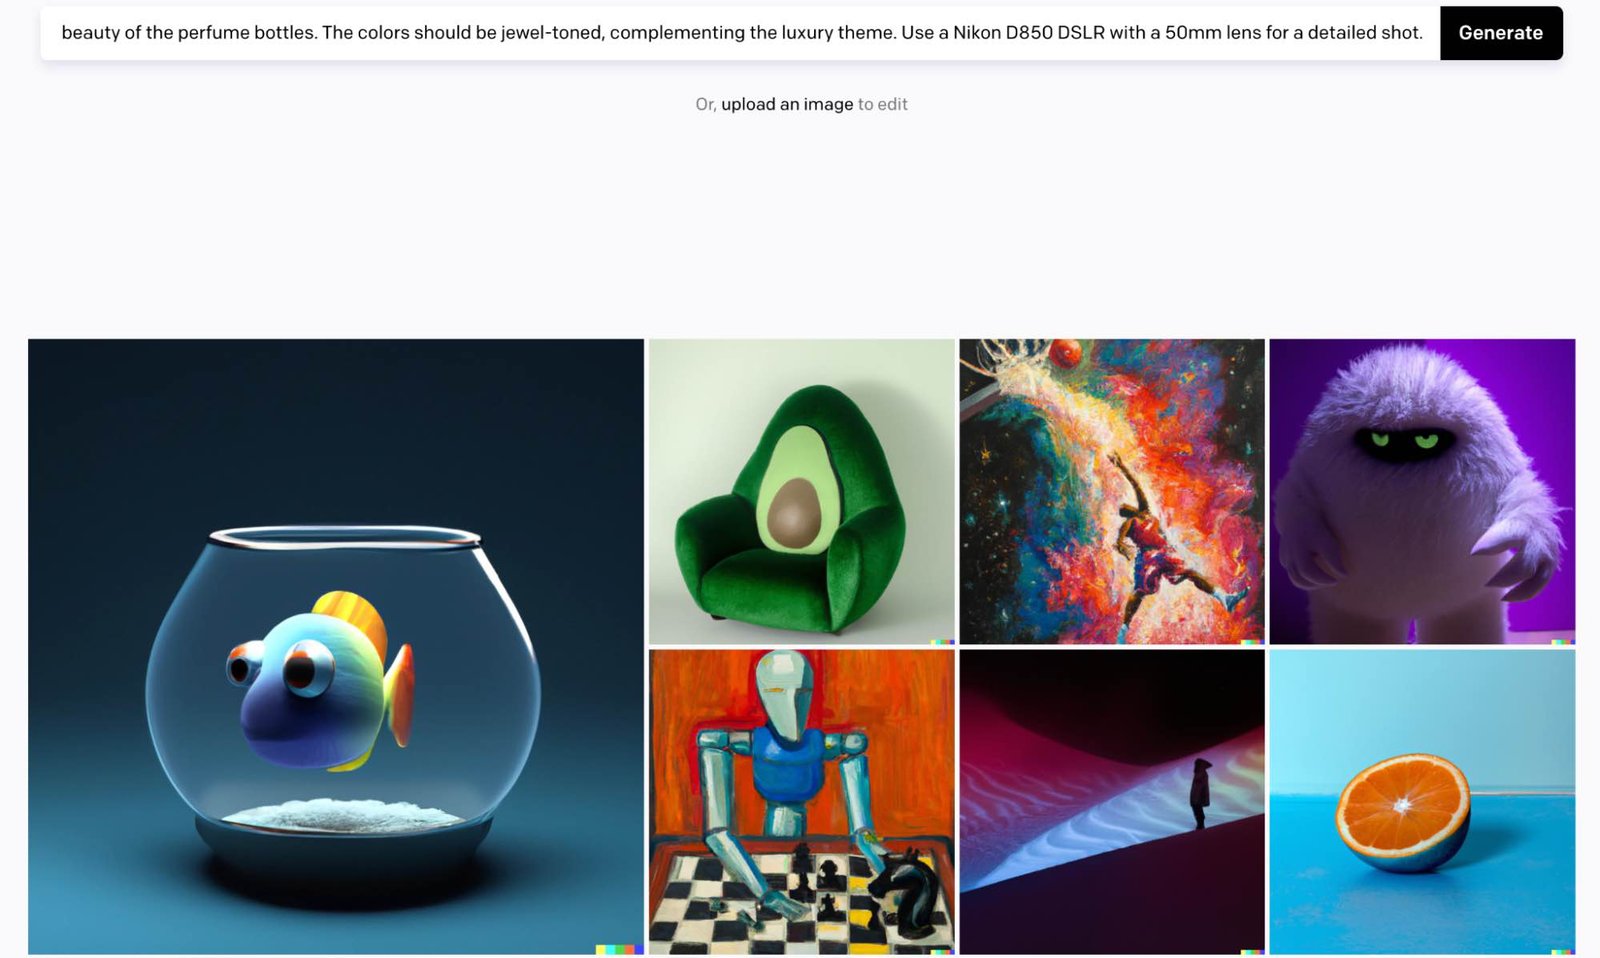
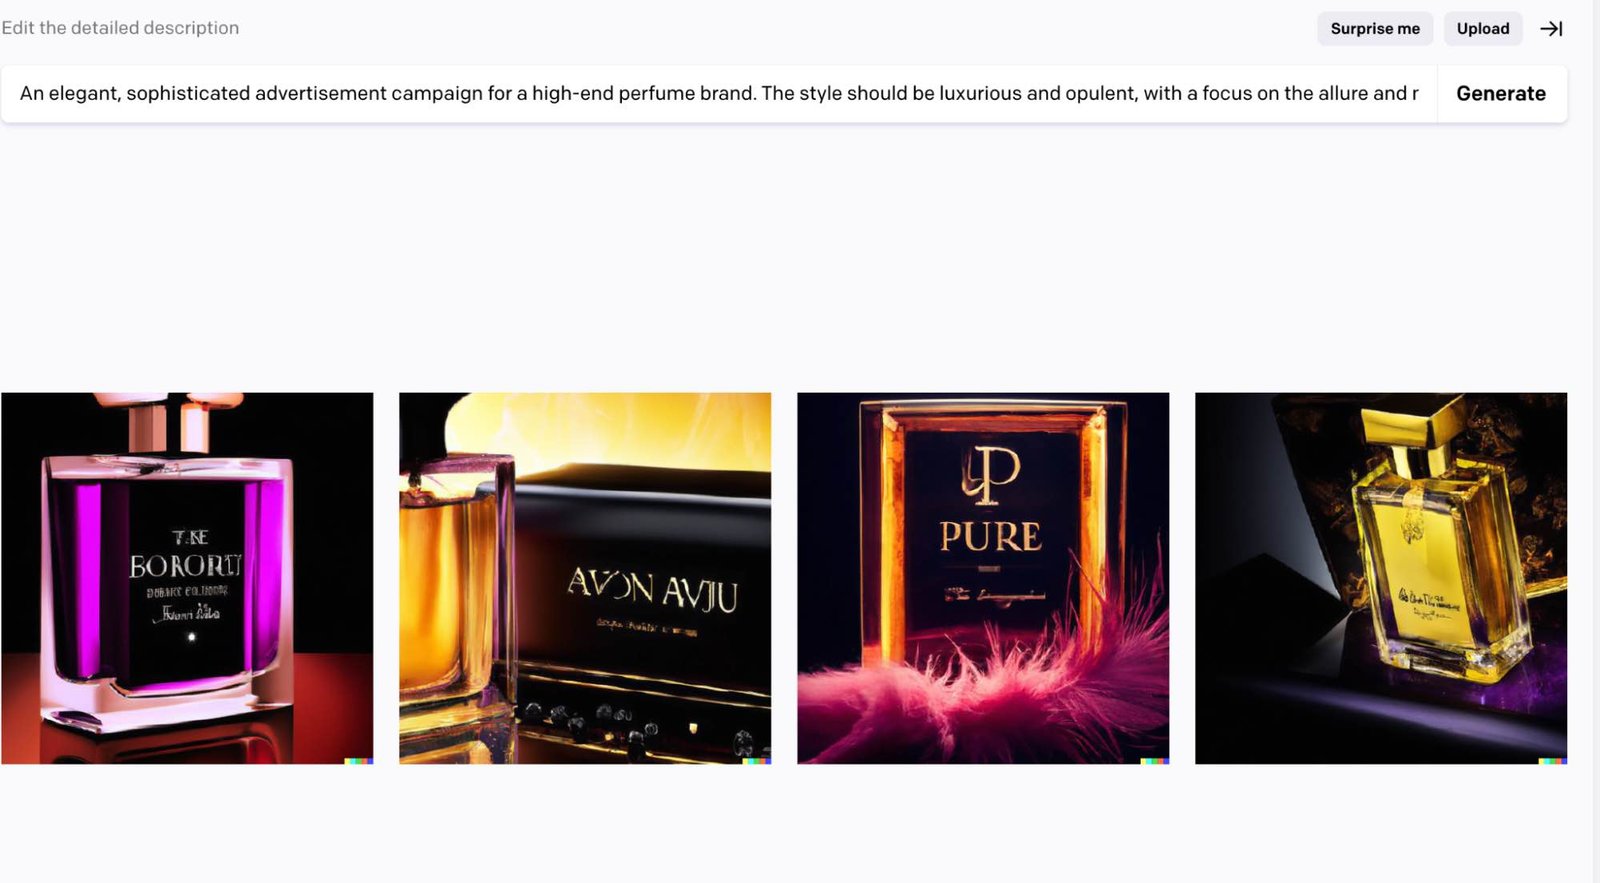
When we enter the prompt we previously produced, it produces 4 alternatives for us. You can choose the image you like from the 4 alternatives it produces and download and share it, or you can make it produce alternatives and edit it.
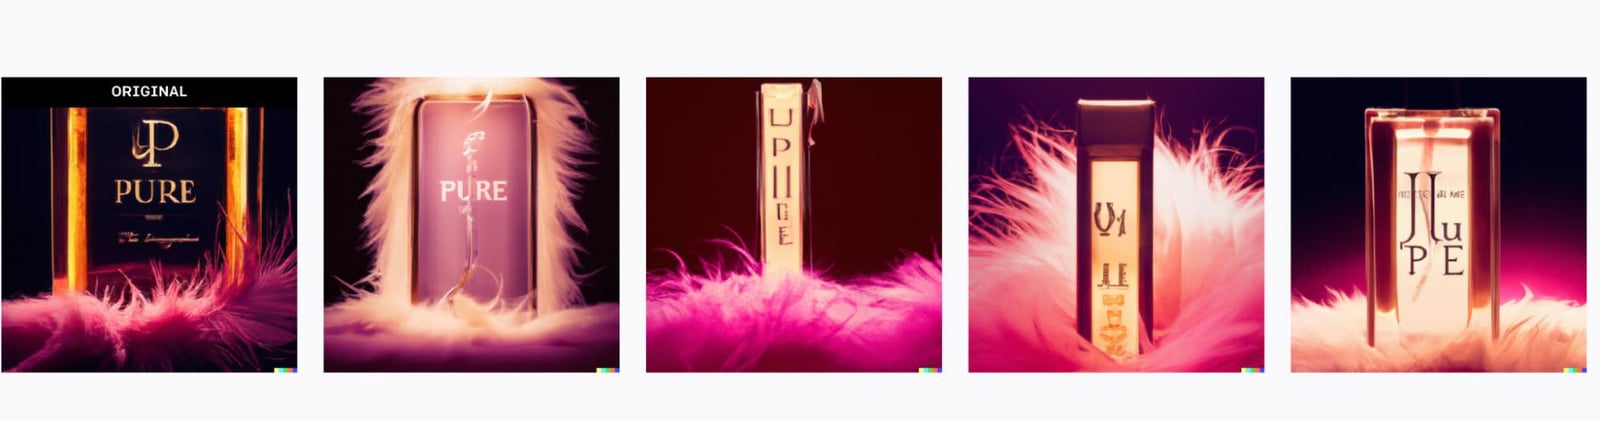
Generating Alternatives
When we select the third image from the four outputs it gives us and ask it to generate alternatives, it gives us the following images, one original and four alternatives.
Editing
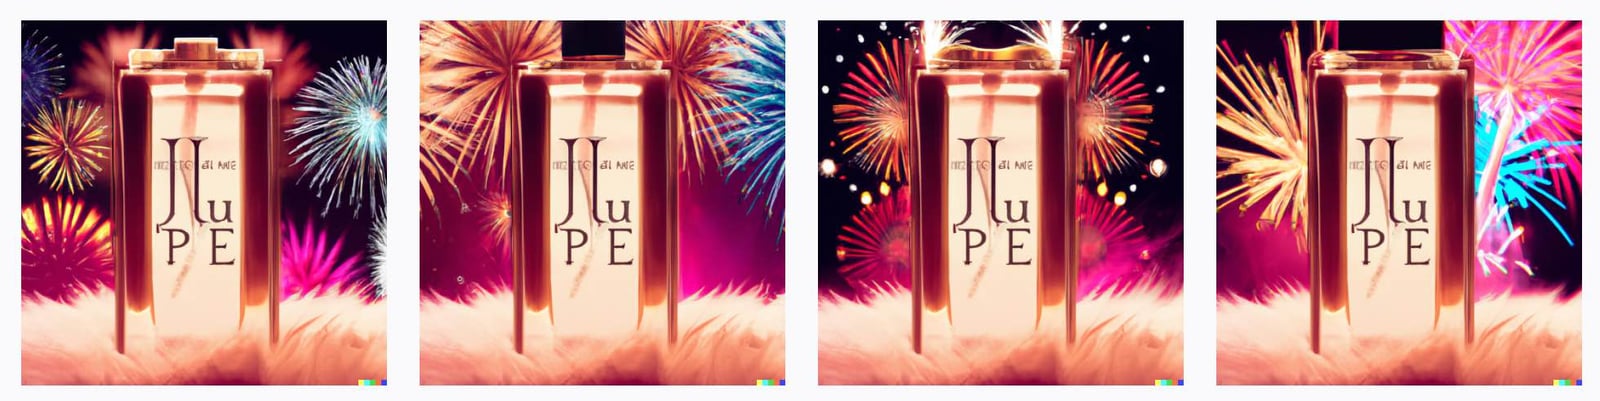
After selecting the image we like, we enter a new prompt by selecting the parts we want to change. I wanted the background to be dark and with fireworks.
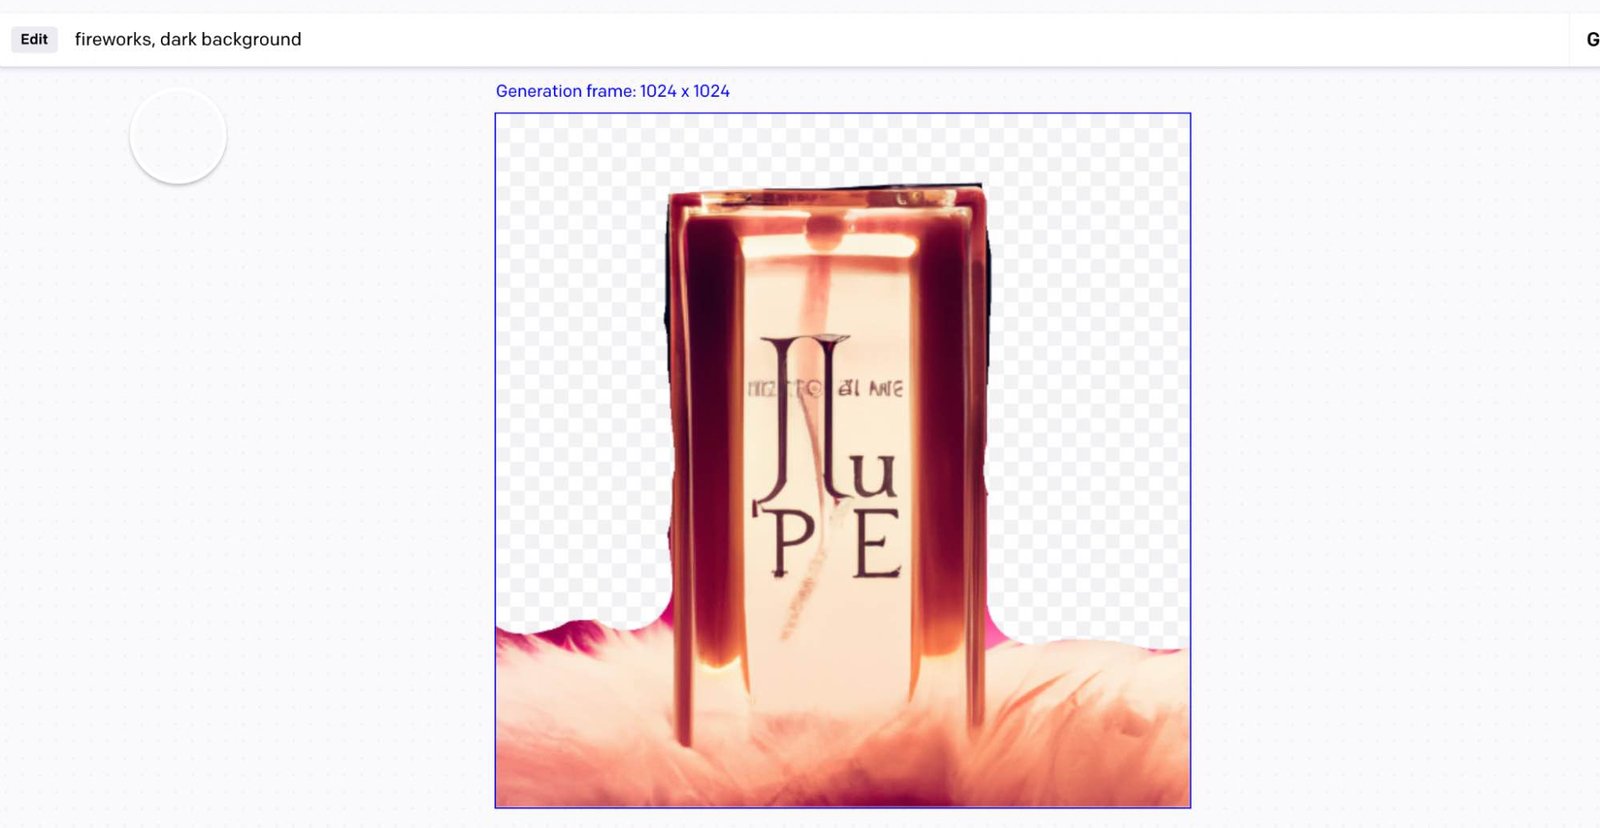
Although the images it produces are not satisfying for me, the editing feature is very successful. Again, you can select the image you like and make different edits or download and share it.
Editing Your Own Image
Another feature of DaLL-E is that we can upload and edit a picture that you already have. To use this feature, we click on the upload button under the prompt bar and upload the image of our choice from our computer.

After uploading the image, it gives us two options, one to generate alternatives and the other to edit it.
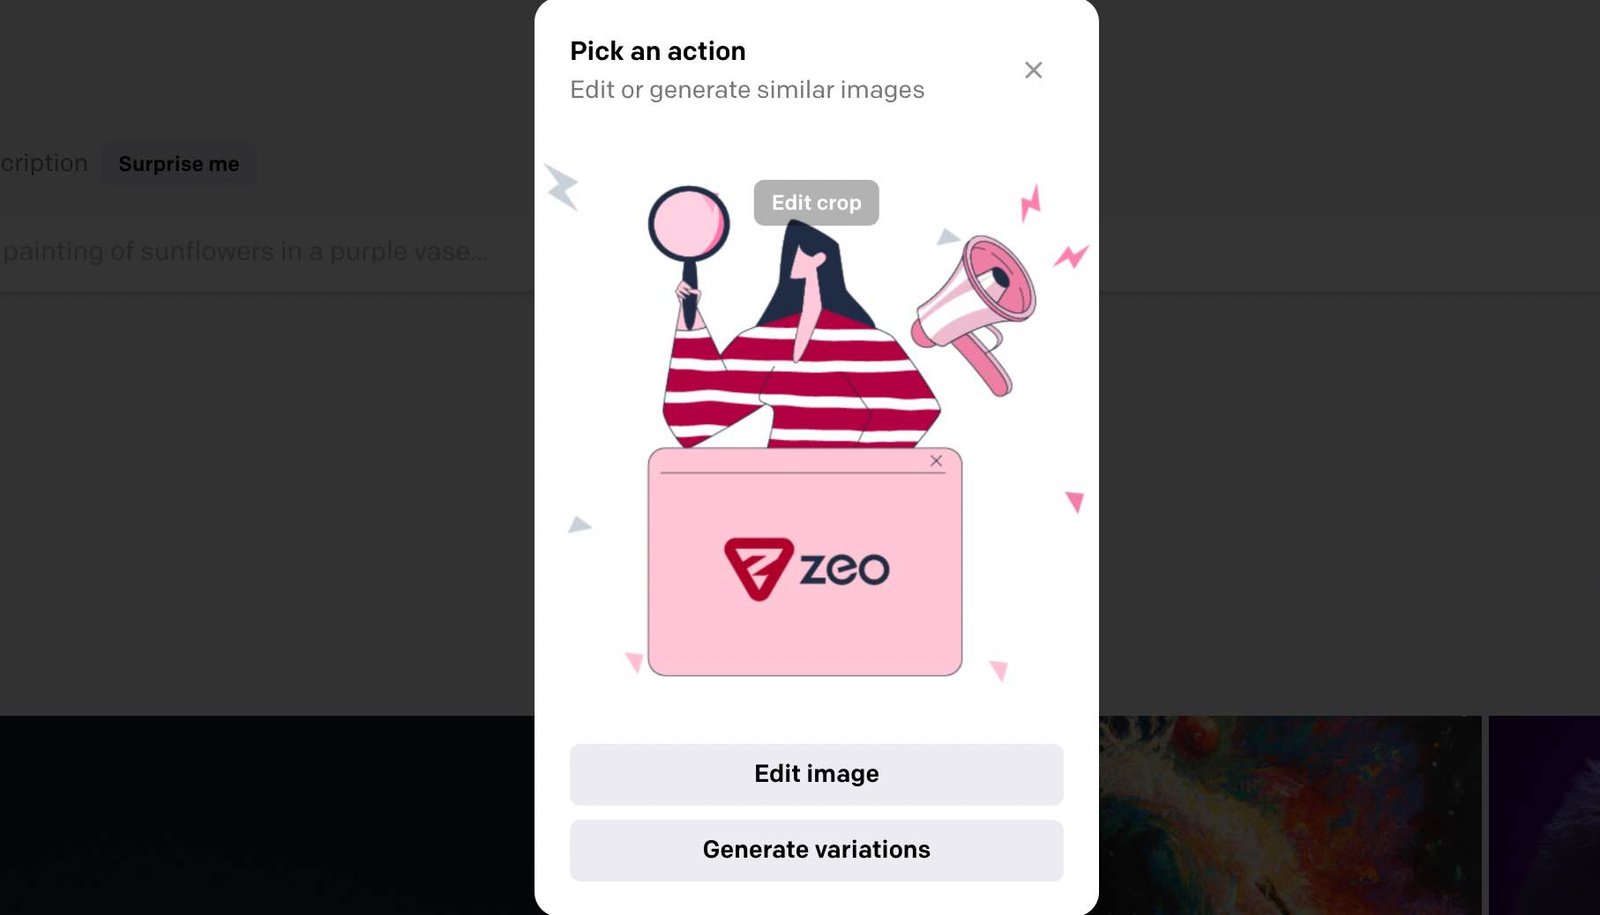
When we say generate alternatives, it gives us the following four outputs. Images are open to interpretation :)
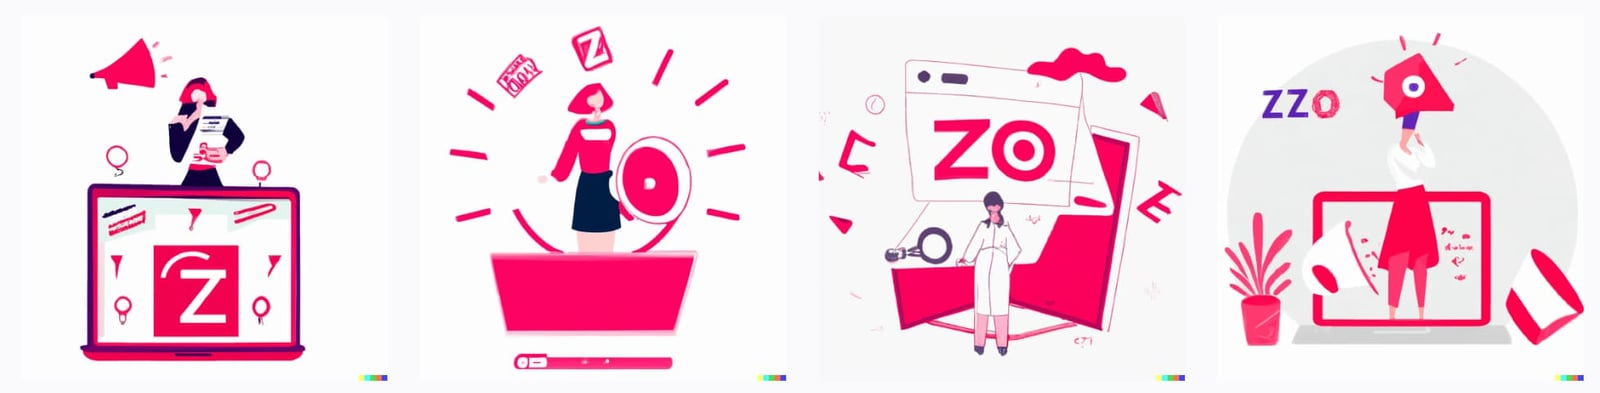
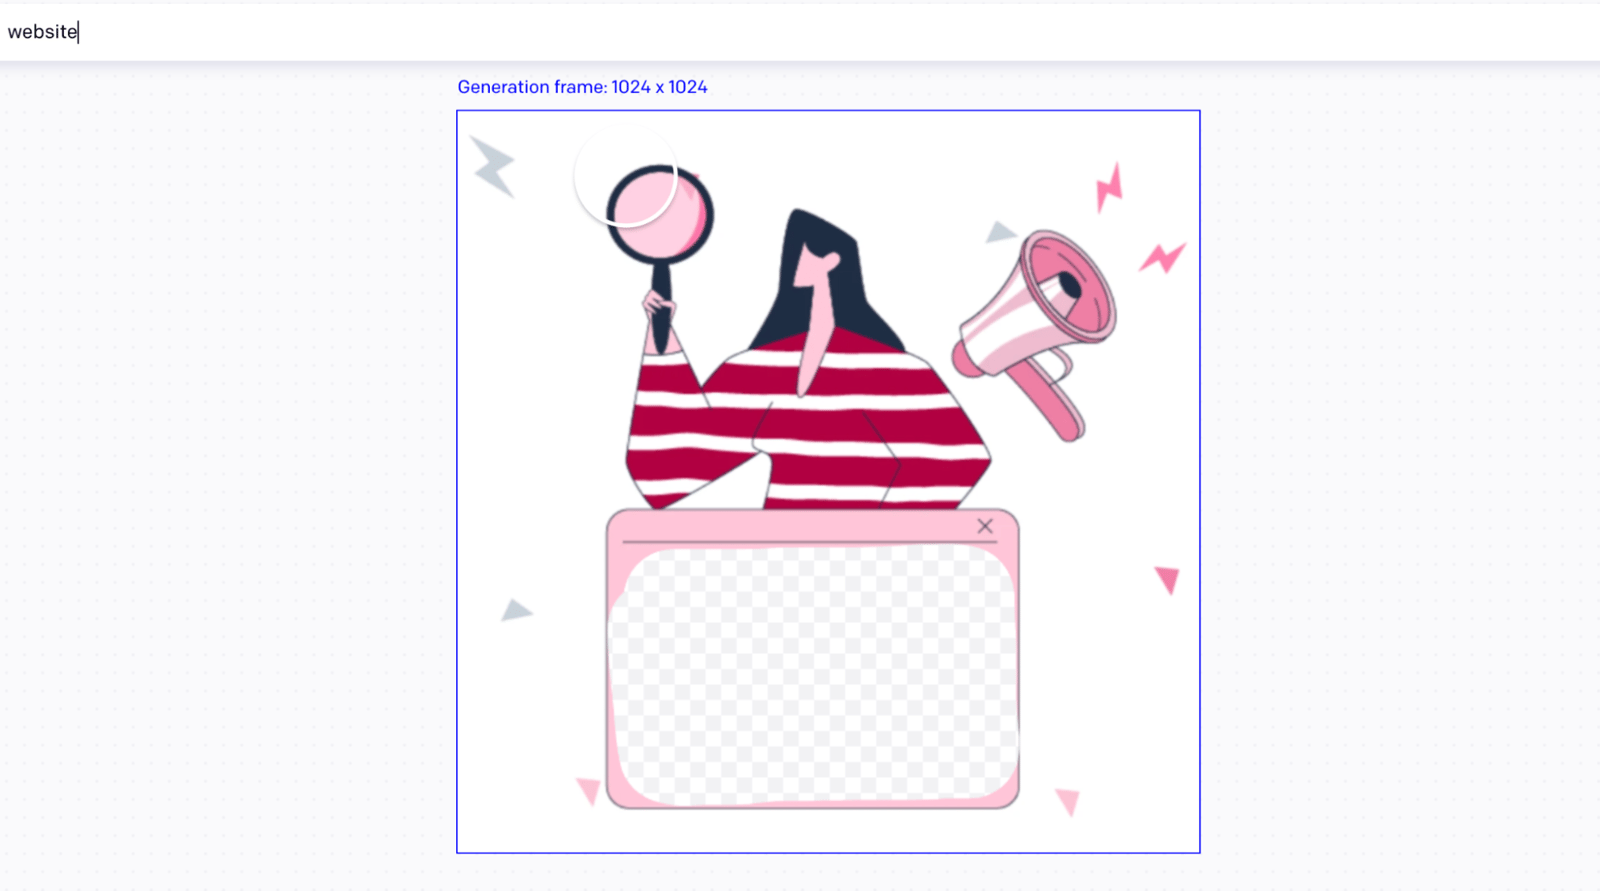
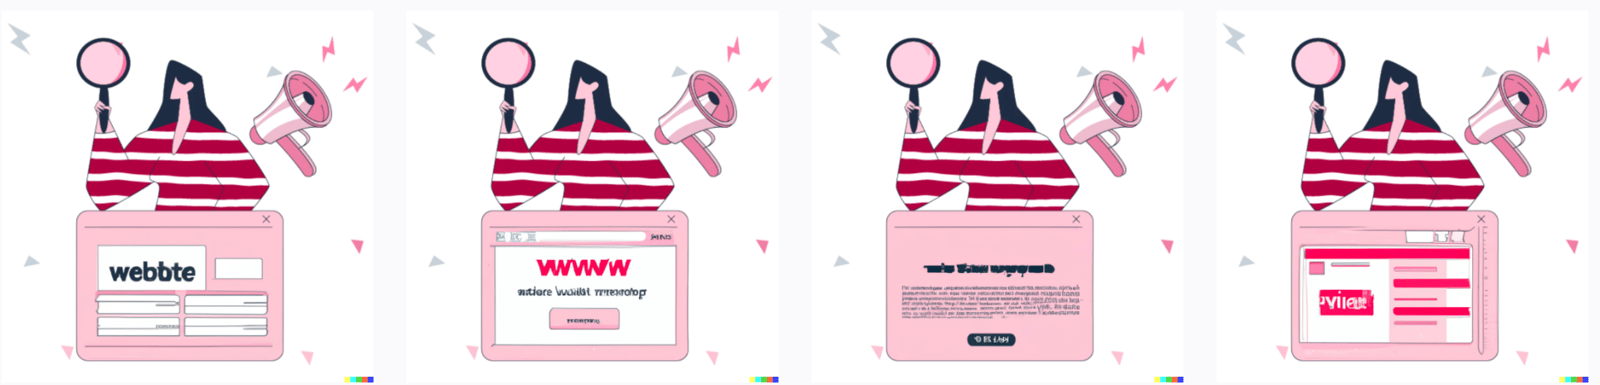
When we tried the editing part, I asked it to put a website image in the section we selected. You can see the four images below.
LeonardoAI
To use the LeonardaAI platform, we need to create a membership. After creating a membership, I am directed to the main page of the platform. We can also join the LeonardoAI Discord channel if we want. Different examples and styles welcome us on the homepage. In addition, in the "user tools" section in the left side menu, we can see the tools we can use with LeonardoAI and the pictures we have made before.
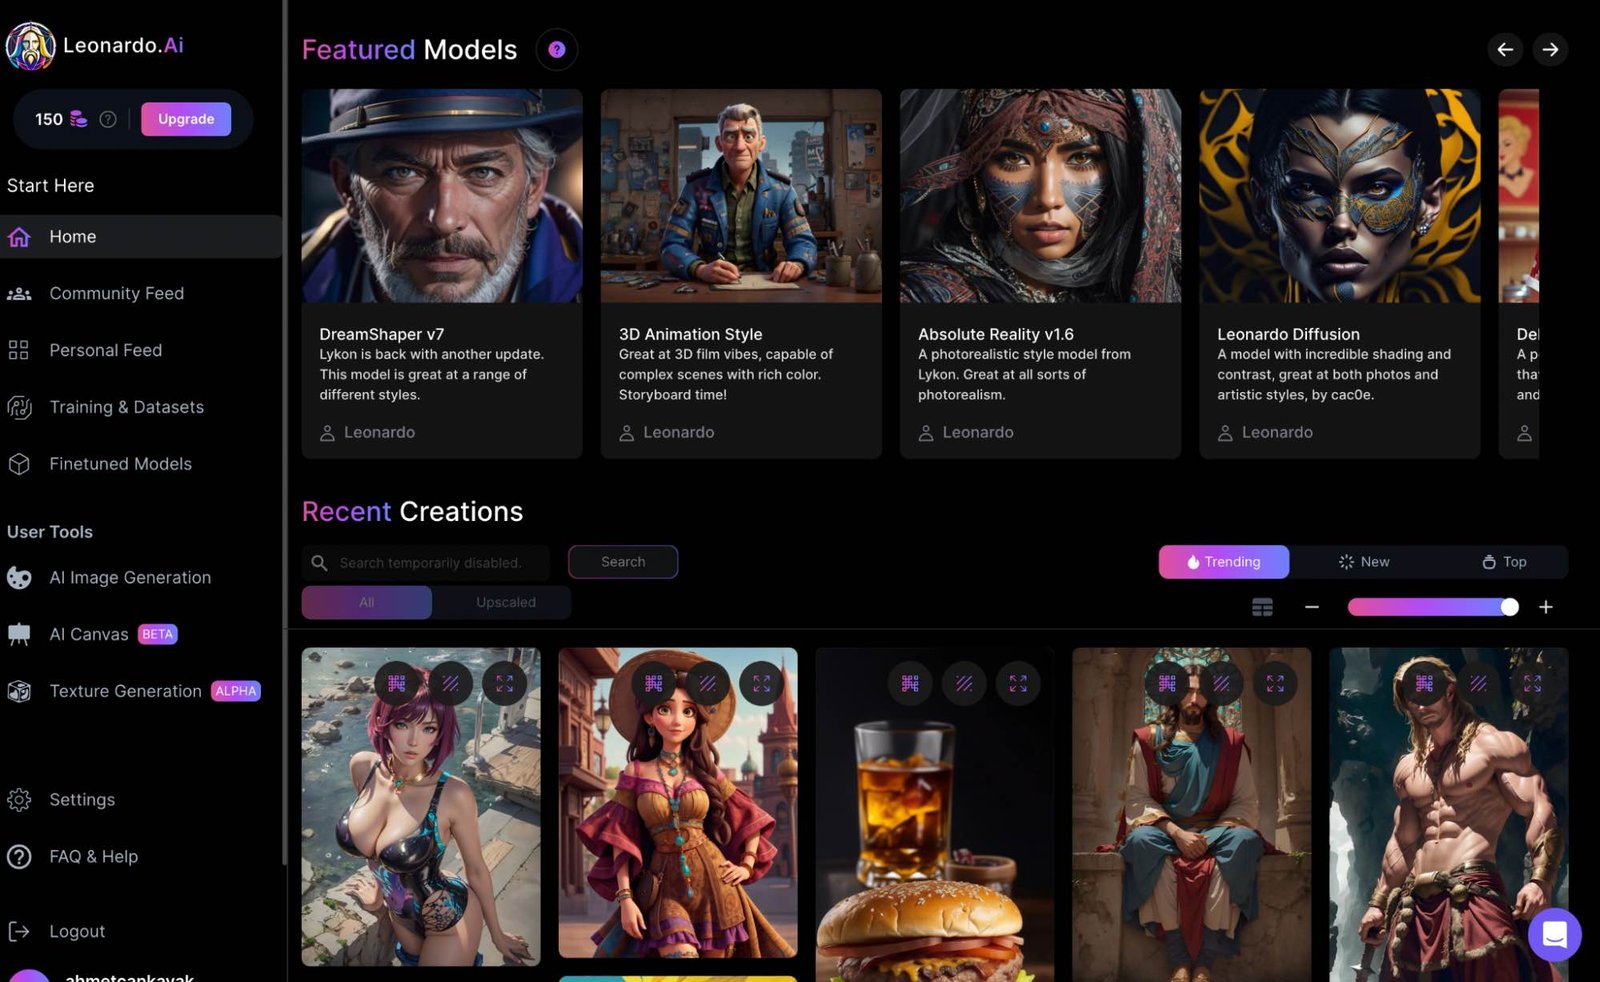
Now let's try our previously generated prompt in LeonardoAI. For this we go to the AI Image Generator. LeonardoAI offers us a really detailed platform. It gives us 150 credits per day, these 150 credits can run out faster depending on the area of use. After entering our Prompt, we select the properties of the image we want from the menu on the left side. There are different features such as the style of the image, its dimensions, how many pieces it should be or its artificial intelligence power. We can also add what we don't want it to do in the Negative Prompt section so that we can use our credits efficiently.
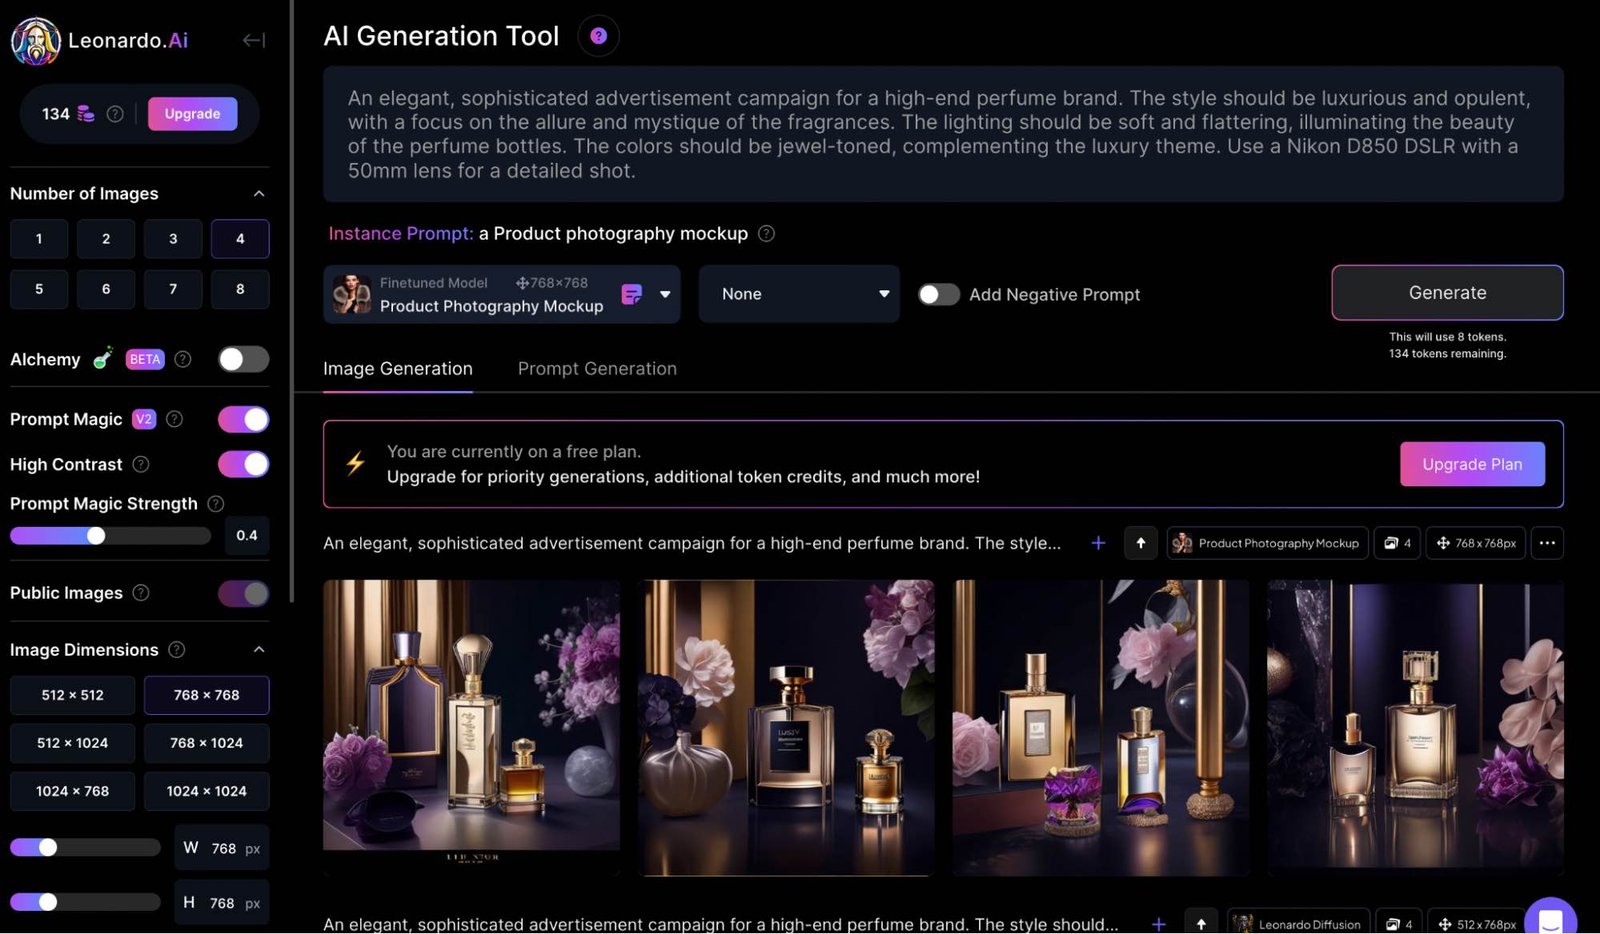
Let's take a closer look at our current prompt. Let's ask it to produce four pieces and also choose Product Photography Mockup since this is a product in style. When we look at the results, it can be in the top two among the ones we have tried so far.
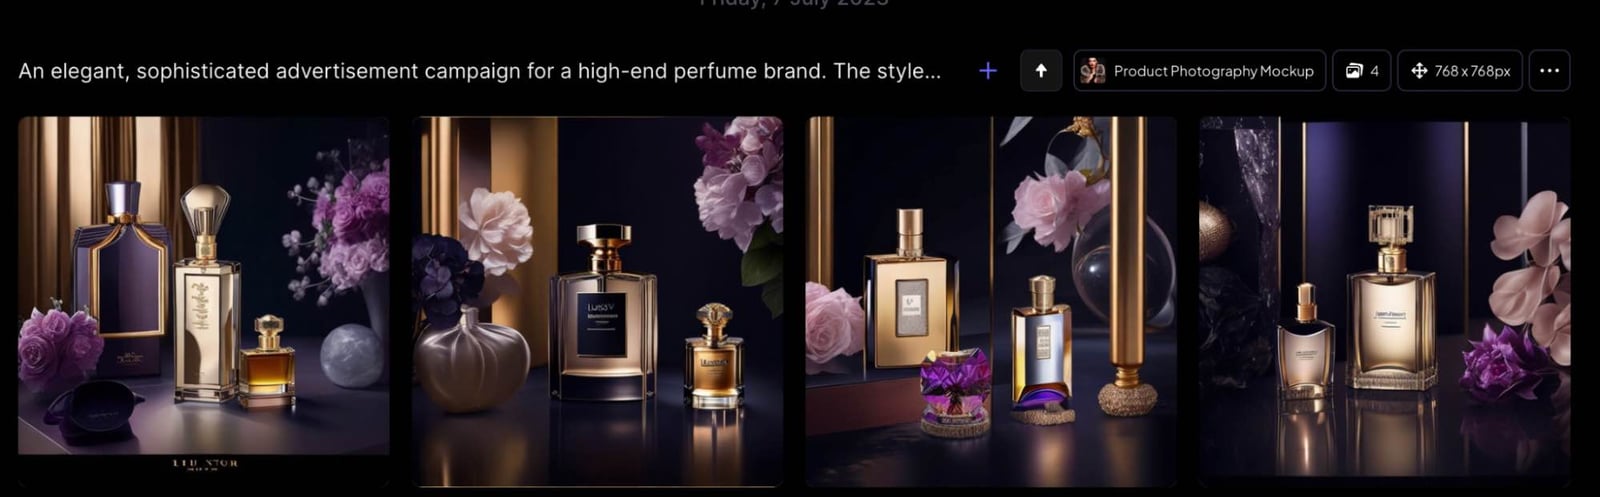
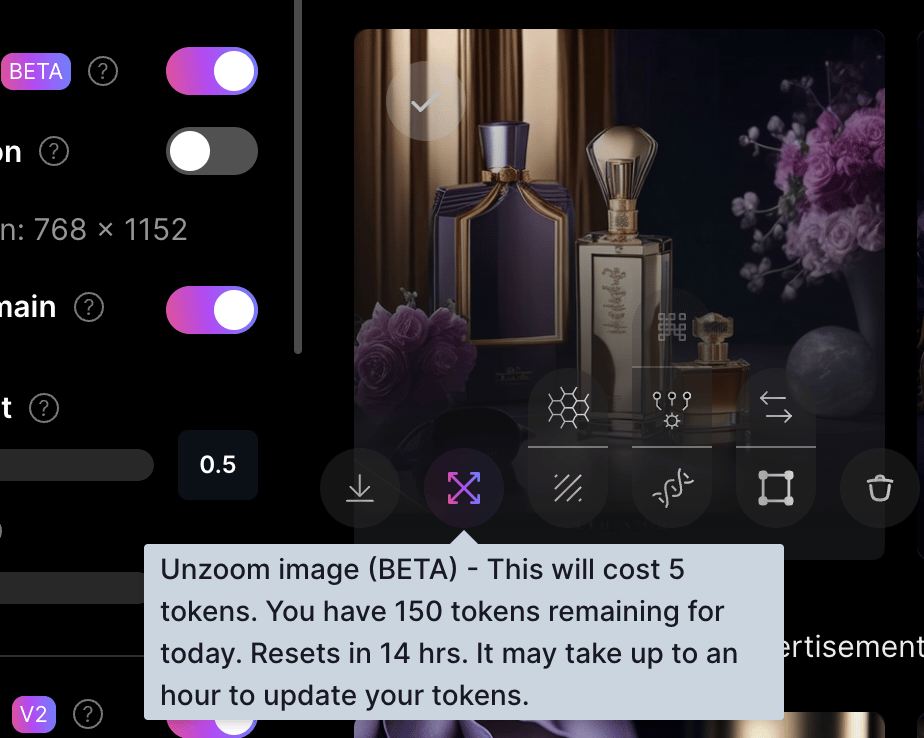
When we hover over the image we like, we can do a lot of editing and editing. It also tells us how many credits it will consume for all of these. For example, if we want the image from a wider angle, it will use 5 credits.
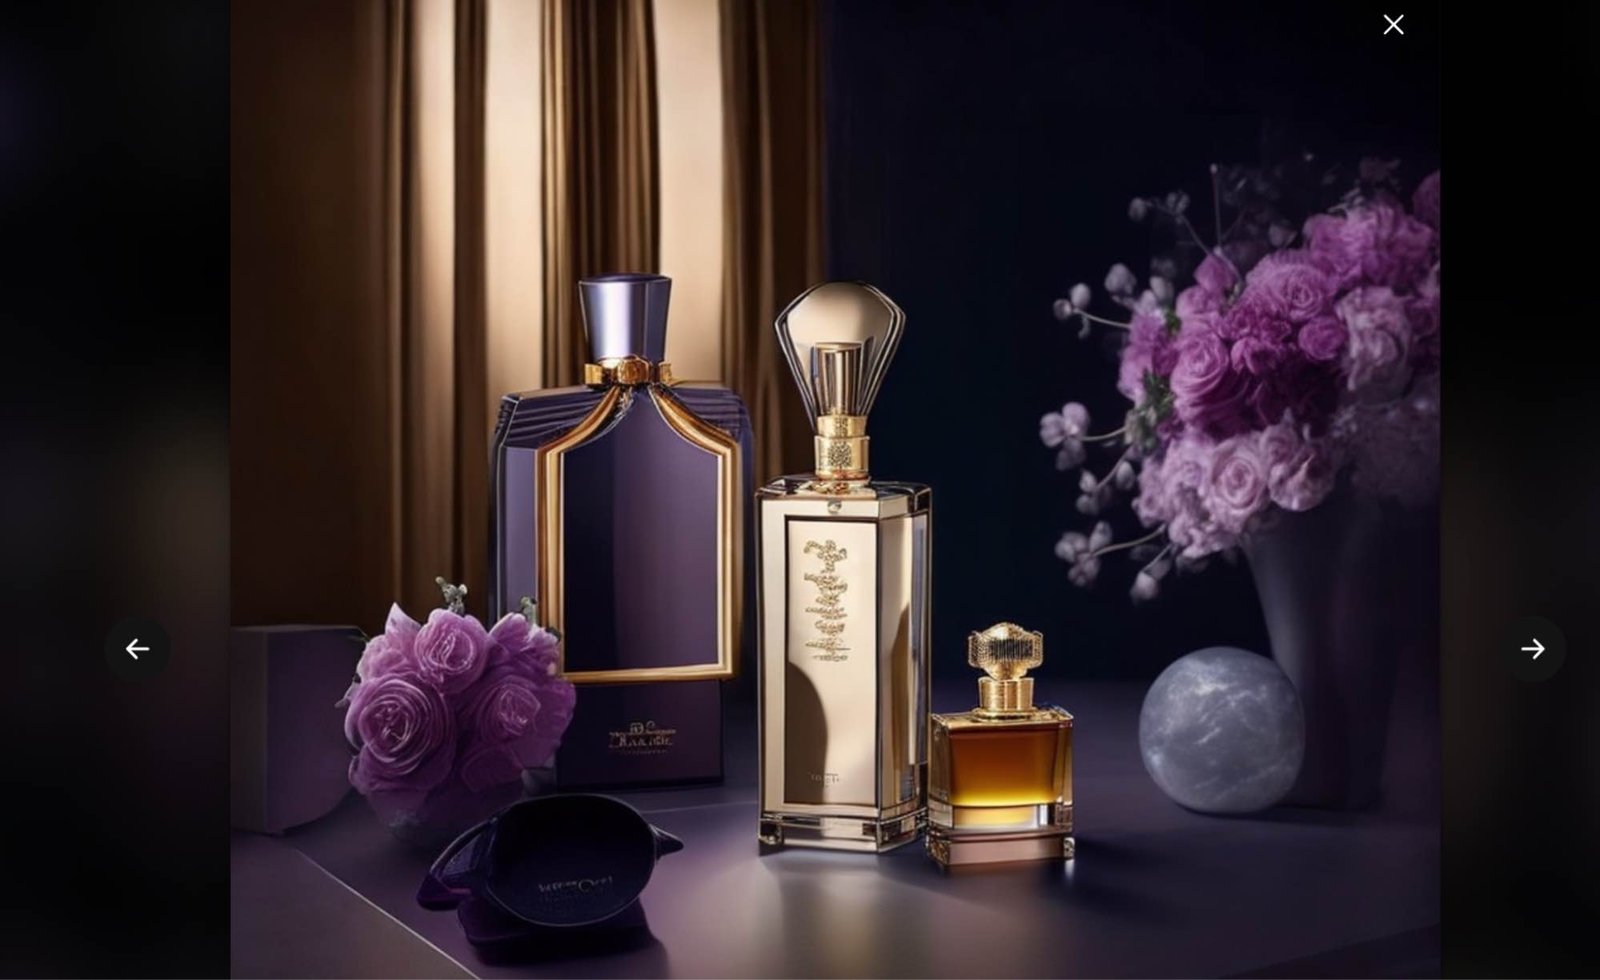
When we try the wide angle, we can see that it expands by a very small margin.
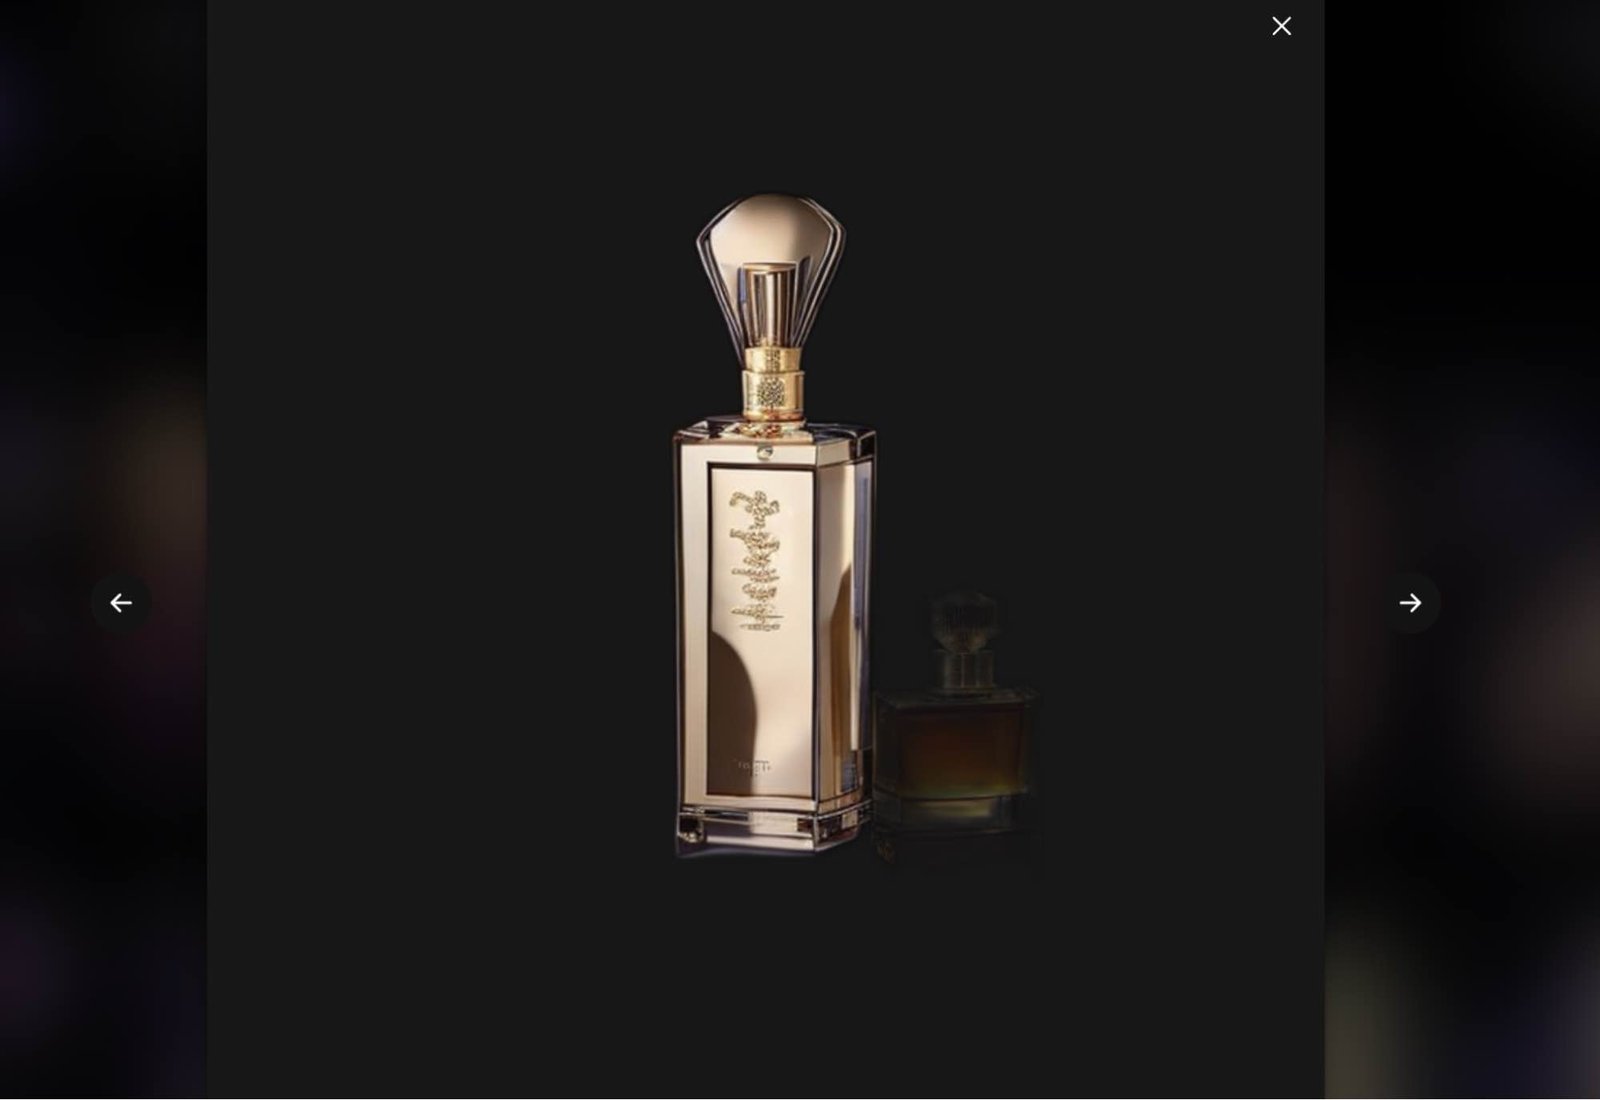
When we try to remove the background, which I am also curious about, the result is as follows. I can say that I found it unsuccessful, because only one product is clearly visible, the other two products disappeared when the background was removed.
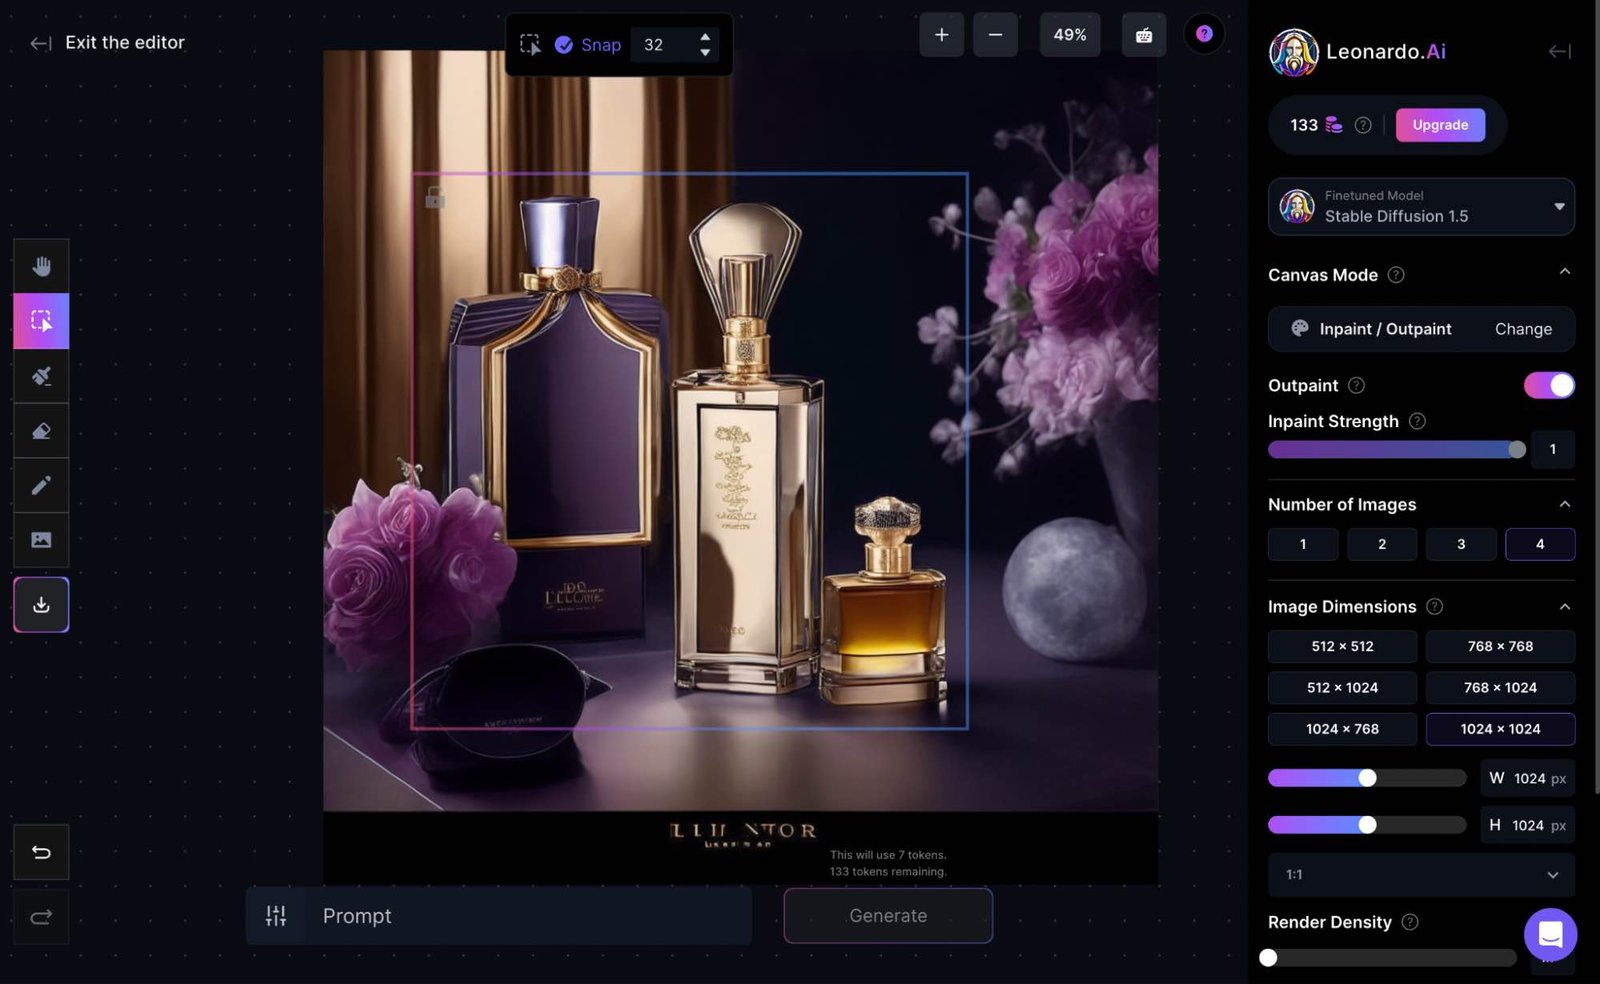
In the Edit Canvas section, where we can make different edits on the image we have selected, we can make edits on the image by entering the prompt or manually.
Lexica.art(No Longer Free)
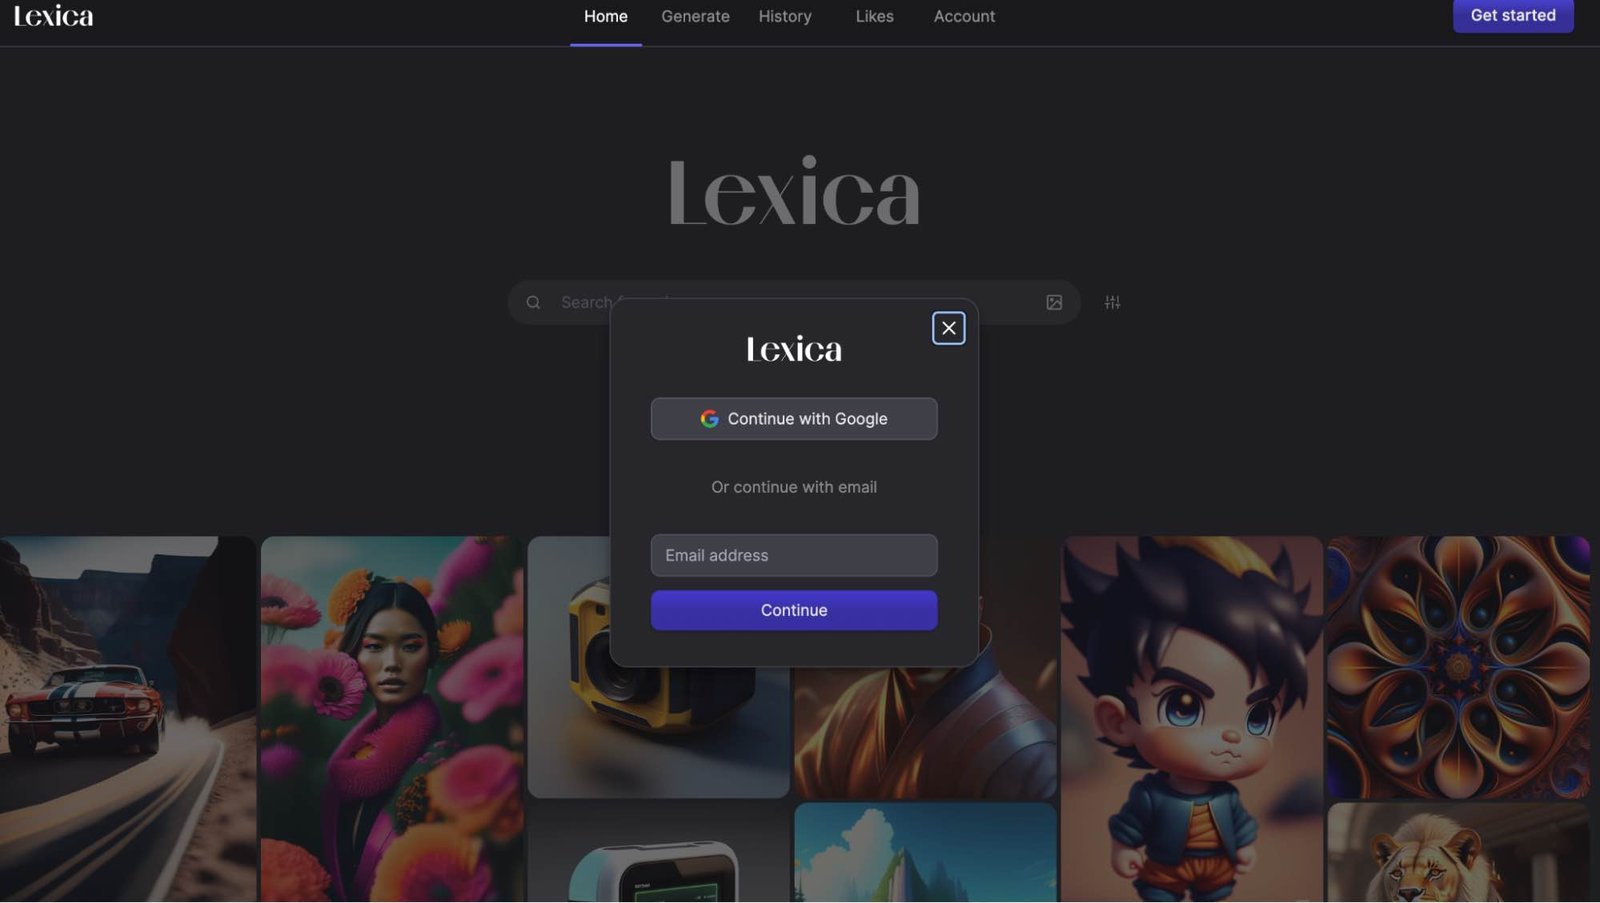
In order to use Lexia.art more efficiently and track your history, you need to create a membership. Very quickly, you continue with your Google account and you are redirected to the home page.
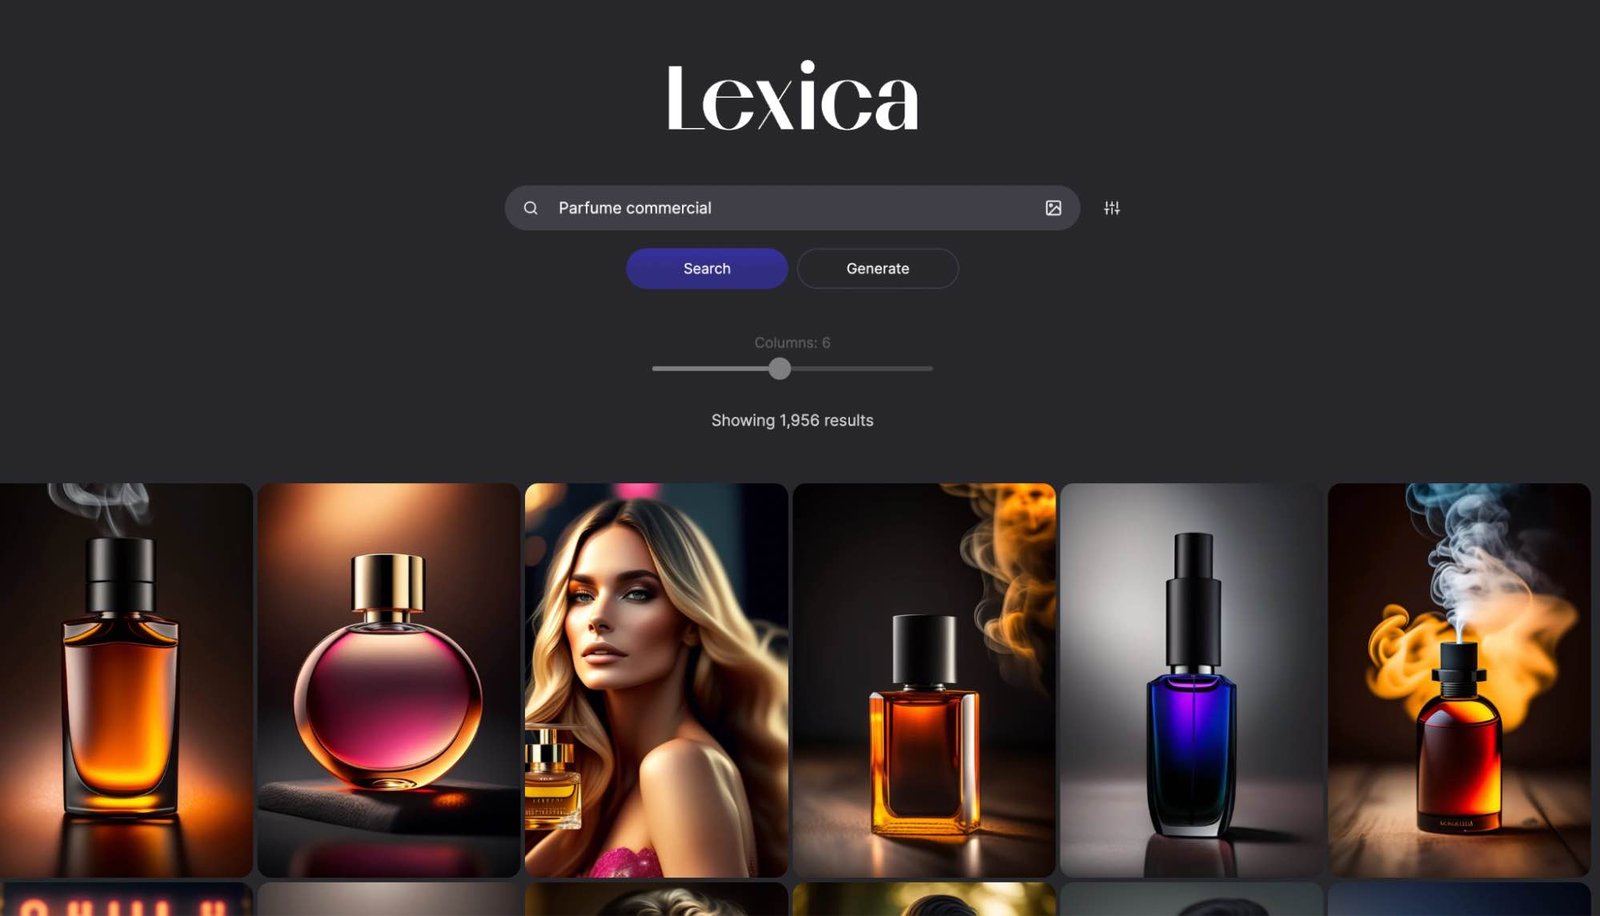
On the home page we are greeted with a search section and underneath it, sample prompts and their results. What caught my attention on this page is the search section. Before moving on to our sample prompt, I wanted to take a look at the examples that come up by typing perfume in the search field. In this way, you can easily access the sample prompts of an image you have in mind that you will have the artificial intelligence make. I liked this feature very much.
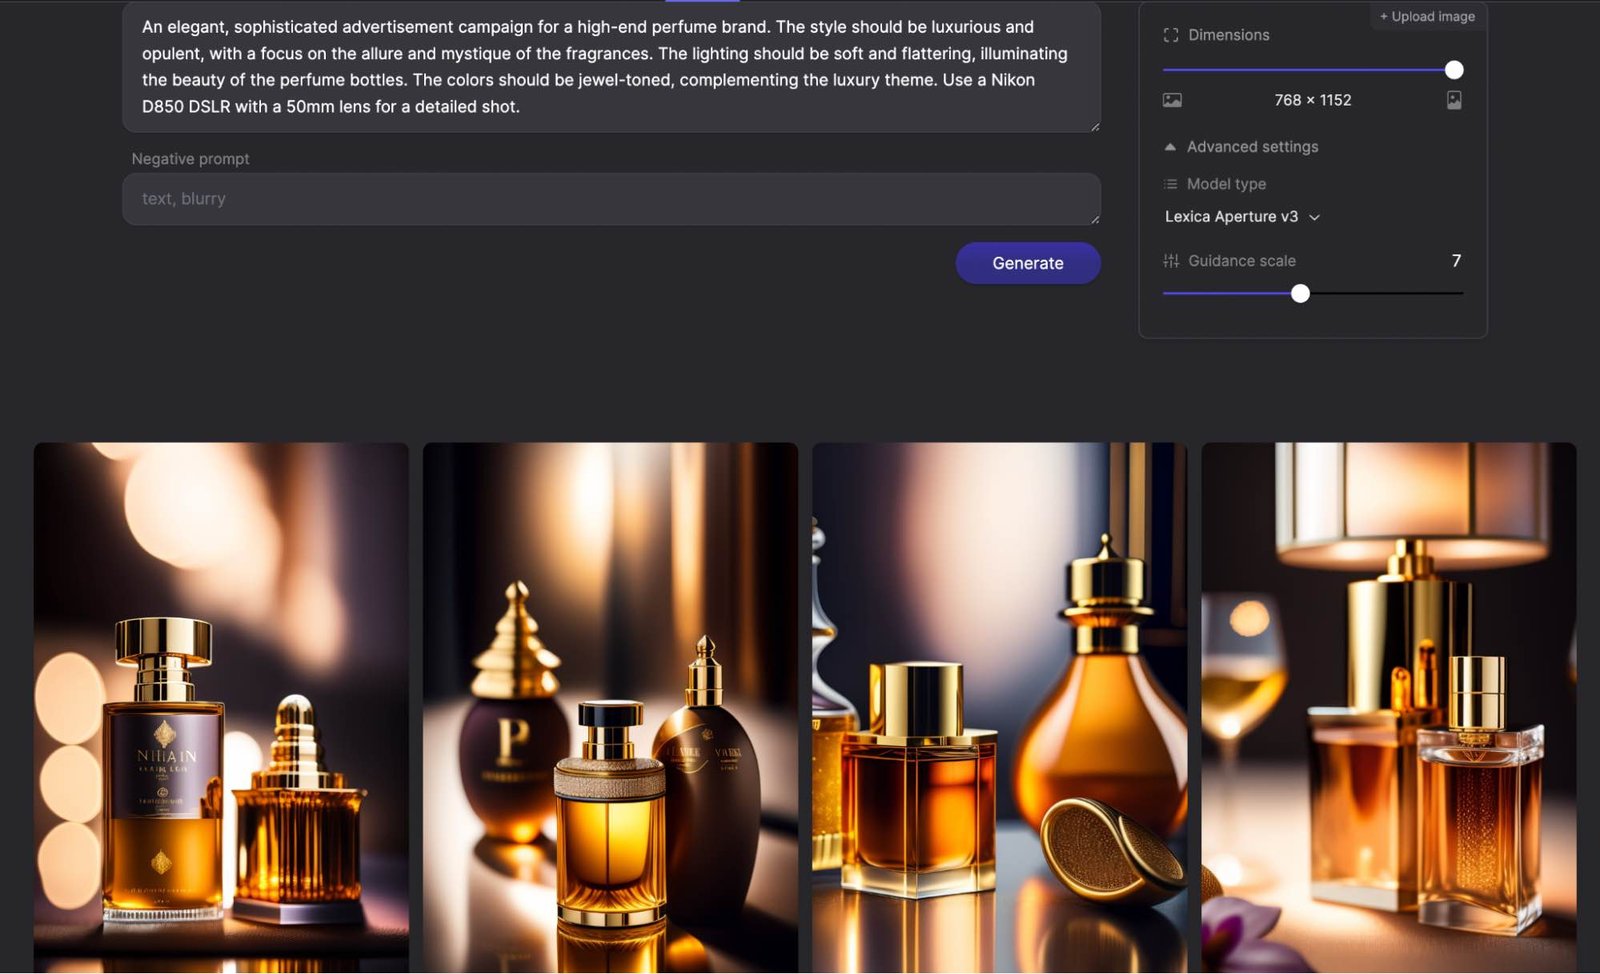
Now let's enter our own prompt from the Genarate section and see the results. While entering the prompt, we can also choose the visual size, AI power and model, and we can also enter Negative Prompt and write what we don't want. The results are eye-catching. There is no editing page on the images. We can find the images we created afterwards by searching the history section again.
However, after four or five trials, it immediately starts asking for a paid membership. We can say that the credit it gives us runs out faster than other platforms.
Short Review
We tested 5 completely free or partially free text to image AI platforms with a prompt generated by AI and reviewed their features one by one. Preferences will naturally vary, but Adobe, LeonardoAI and Lexia met my expectations. Adobe and LeonardoAI stood out most for the range of features they offered, while I particularly liked Lexia's search feature.
Reaching the picture we have in mind takes plenty of trial and error. By refining the prompt as we test different results, we can get closer to the result we imagined.
This content was created by Ahmet Can Kavak, Marketing Manager at Zeo.


